.png)


Overview
Cavaco's WooCommerce integration connects your WordPress store's product catalog, order data, and customer profiles to power personalized campaigns and AI recommendations.
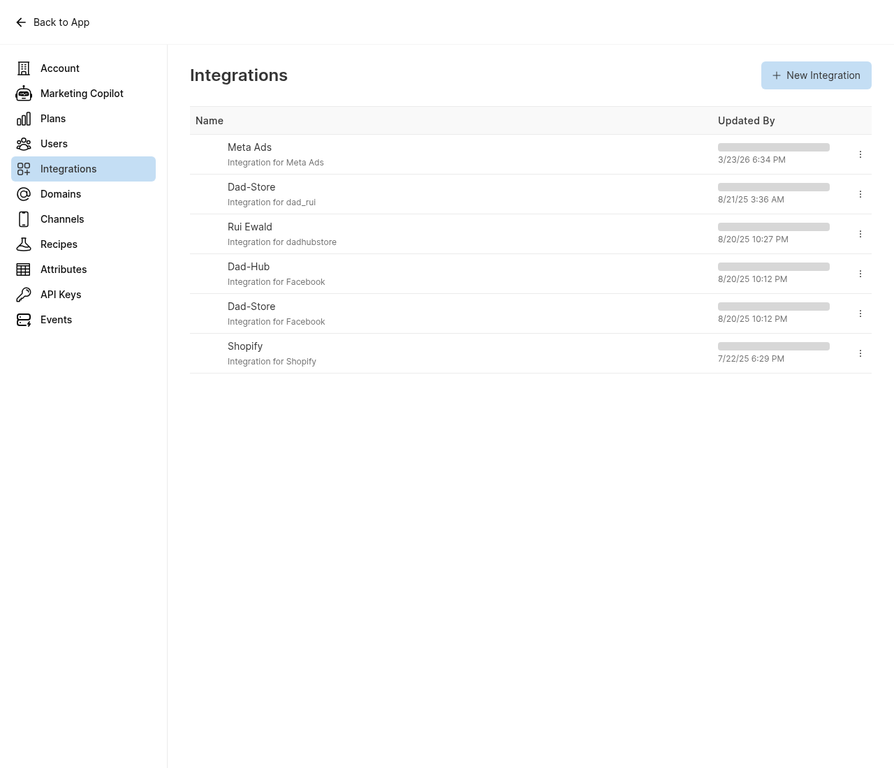
The Integrations page where you can add and manage your WooCommerce connection.
Installing the Cavaco Plugin
- In your WordPress admin, go to Plugins > Add New
- Search for "Cavaco" and click Install Now
- After installation, click Activate
- Navigate to WooCommerce > Settings > Cavaco
- Enter your Cavaco API key (found in Settings > Account in Cavaco)
- Click Save Changes — the connection will be established automatically
What Gets Synced
- Products — Full catalog including variations, prices, and stock status
- Orders — All historical and new orders with line items and revenue
- Customers — Contact information and purchase history
- Real-time events — Add-to-cart, checkout, and purchase events via the tracking pixel
Tracking Pixel
The Cavaco plugin automatically injects the tracking pixel into your WooCommerce store. No manual code installation is required. Verify the pixel is active by checking the "Pixel Status" indicator in Settings > Domains in Cavaco.
.png)