.png)


Connecting your Meta Ads account to Cavaco AI unlocks campaign creation, Custom Audience sync, and cross-channel revenue attribution — all from a single dashboard.
What the Integration Enables
| Capability | What it means for you |
|---|---|
| Campaign creation & management | Launch, edit, pause, and monitor Meta campaigns directly from Cavaco |
| Custom Audience sync | Your Cavaco segments (VIP, Abandoned Cart, Churned, etc.) are pushed to Meta as Custom Audiences and kept in sync automatically |
| Lookalike Audiences | Use your best-buyer segments as seeds for Lookalike Audiences to find new customers who look like your existing ones |
| Pixel & catalog connection | Links your Meta Pixel and product catalog for dynamic product ads and accurate purchase attribution |
| Revenue attribution | Ad-attributed revenue appears in the same Cavaco reports as email and SMS — no double-counting |
Step-by-Step Setup
Step 1: Open Integrations
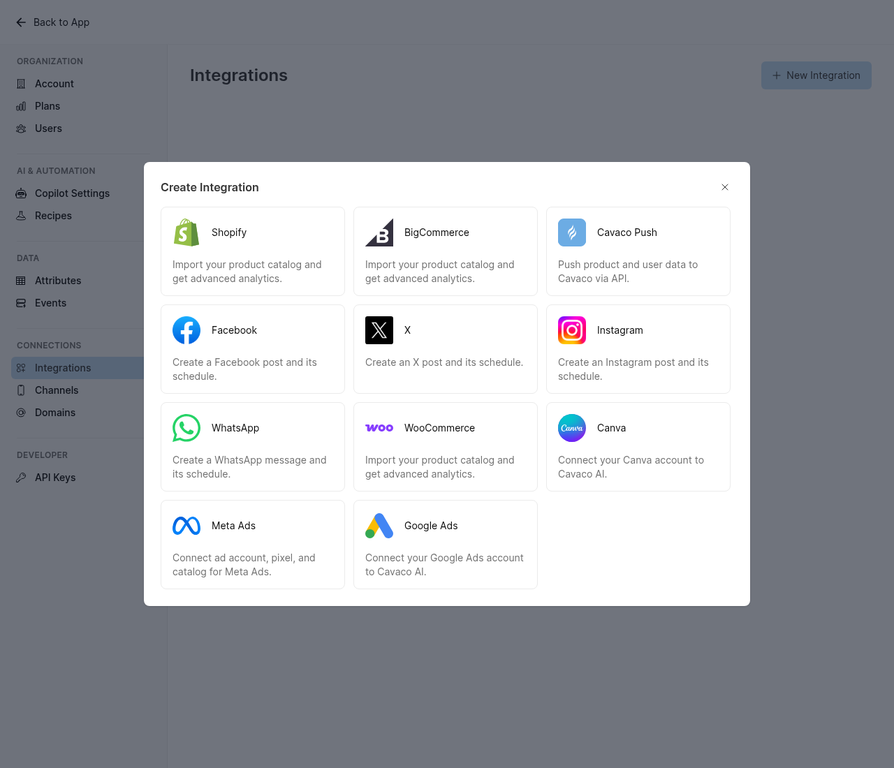
In the Cavaco dashboard, navigate to Settings → Integrations and click + New Integration.
Step 2: Select Meta Ads
Click the Meta Ads tile. You will be redirected to Facebook's OAuth login flow.
Step 3: Log In and Grant Permissions
Log in with the Facebook account that has admin access to your Meta Business Manager. When prompted, grant all requested permissions:
| Permission | Why it's needed |
|---|---|
ads_management | Create, edit, and manage ad campaigns |
ads_read | Read campaign performance data for reporting |
business_management | Access your Business Manager to select the correct ad account |
catalog_management | Connect your product catalog for dynamic product ads |
pages_read_engagement / pages_show_list | Associate campaigns with your Facebook Page |
Step 4: Select Your Ad Account, Pixel, and Catalog
After authorising, you'll be returned to Cavaco where you'll select:
- Ad Account — the Meta Ads account to use for billing and campaign management
- Pixel — the Meta Pixel installed on your store for conversion tracking
- Product Catalog — your Meta product catalog for dynamic ads
Step 5: Confirm and Save
Click Save. The integration is now active. Cavaco will begin syncing your customer segments to Meta as Custom Audiences within the next few minutes.
What Happens Next
Once connected, you can start creating Meta campaigns from the Creating Meta Ad Campaigns guide. Your Cavaco audience segments will automatically appear as targeting options inside the campaign builder.
.png)