🚀 Choose Your Installation Path
Cavaco AI connects to your store in minutes. Select the guide that matches your platform to get a tailored, step-by-step walkthrough:
After completing your platform-specific installation, follow the steps below to finish setting up your Cavaco AI account and launch your first campaign.
✅ Step 1: Explore the New Dashboard Home
Upon logging into Cavaco AI, you'll be greeted by our new Dashboard Home. This centralized hub provides immediate access to your Launchpad, recommended setup tasks, and goal-aligned actions.
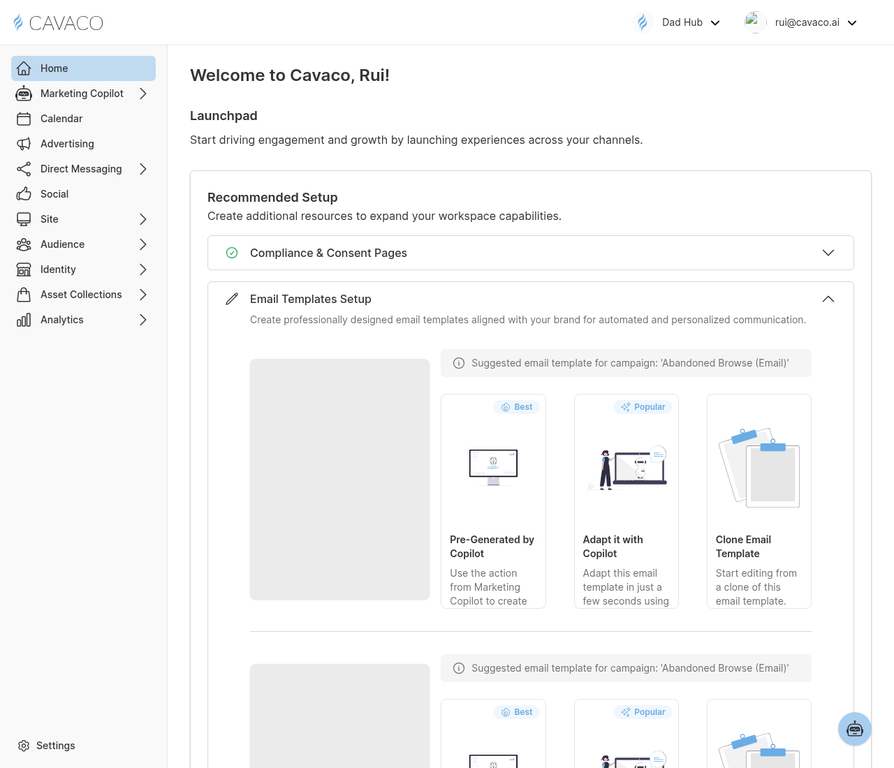
From here, you can easily navigate to key areas like Marketing Copilot, Direct Messaging, Site Widgets, and Analytics using the updated left-hand sidebar.
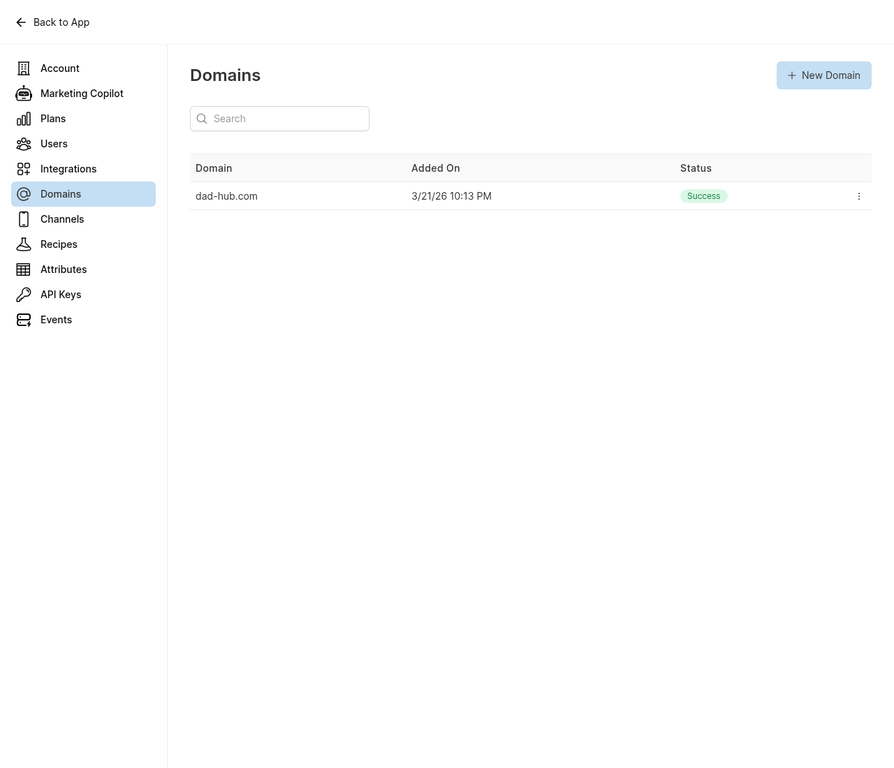
🔐 Step 2: Configure Your Settings & Domains
Before sending campaigns, you need to configure your sender identity.
- Navigate to Settings > Domains to set up your sending domain. This involves configuring SPF, DKIM, and DMARC records to verify your sender identity and ensure high deliverability.
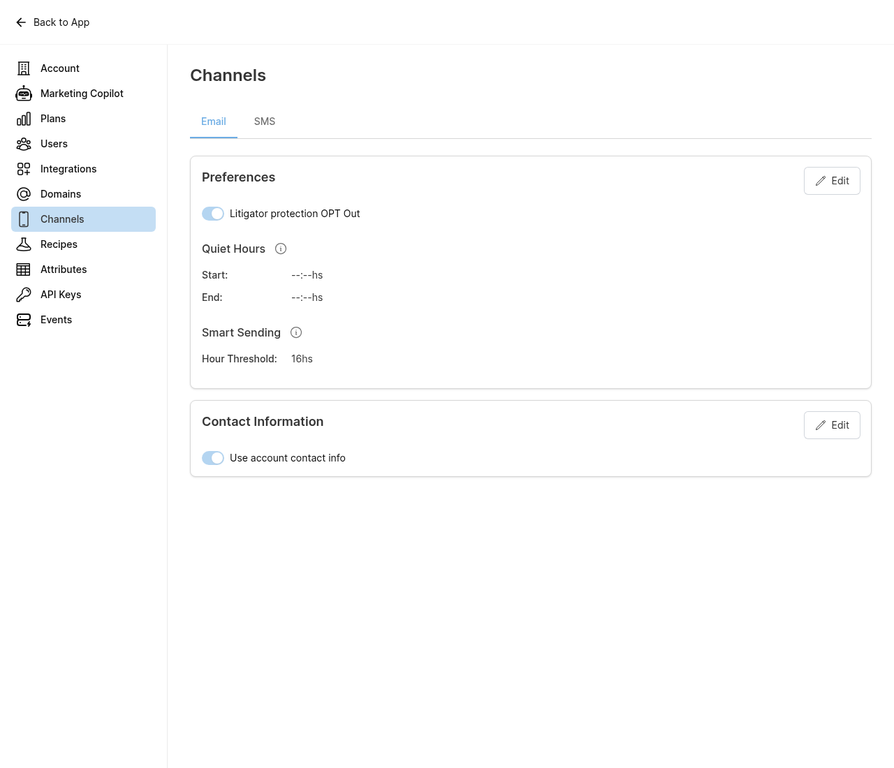
- Next, go to Settings > Channels to manage your communication channels (Email, SMS, WhatsApp). Ensure your default sender details and compliance settings are accurate.
🔥 Step 3: The IP Warm-Up Protocol (Crucial for Bulk Senders)
If you plan to send emails at scale, you must warm up your IP and sending domain before launching full campaigns. Failing to do so will result in your emails being blocked or sent to spam by major inbox providers like Gmail and Yahoo.
When is an IP Warm-Up Required?
According to industry standards and the latest Gmail/Yahoo bulk sender requirements [1], an IP warm-up is mandatory if you are:
- Sending to more than 5,000 recipients per day on a new domain or IP.
- Migrating an existing large list to Cavaco AI from another platform.
- Recovering from a damaged sender reputation (e.g., high bounce rates or spam complaints).
The 6-Week Warm-Up Schedule
To safely build your sender reputation, you must gradually increase your sending volume while targeting only your most engaged subscribers. Based on our deliverability playbook, here is the standard progression:
| Week | Daily Send Volume | Target Audience Segment | Primary Metric Target |
|---|---|---|---|
| Week 1 | 500 – 1,000 | Champions (Highest engagement only) | Click rate >5% |
| Week 2 | 1,000 – 2,500 | + Loyal Customers | Click rate >3% |
| Week 3 | 2,500 – 5,000 | + Potential Loyalists | Click rate >2% |
| Week 4 | 5,000 – 10,000 | + One-Time Buyers | Click rate >1.5% |
| Week 5 | 10,000 – 20,000 | + Repeat Customers & At-Risk | Click rate >1% |
| Week 6 | Full Active List | All validated active profiles | Click rate >0.8% |
Critical Rule: Never advance to the next volume tier if your click rate drops below the target threshold or if your spam complaint rate exceeds 0.10%. Hold at the current volume for an additional week to stabilize your reputation.
For the complete, step-by-step methodology, including failure protocols and pre-warm-up checklists, please read our comprehensive Email Deliverability & IP Warm-Up Guide.
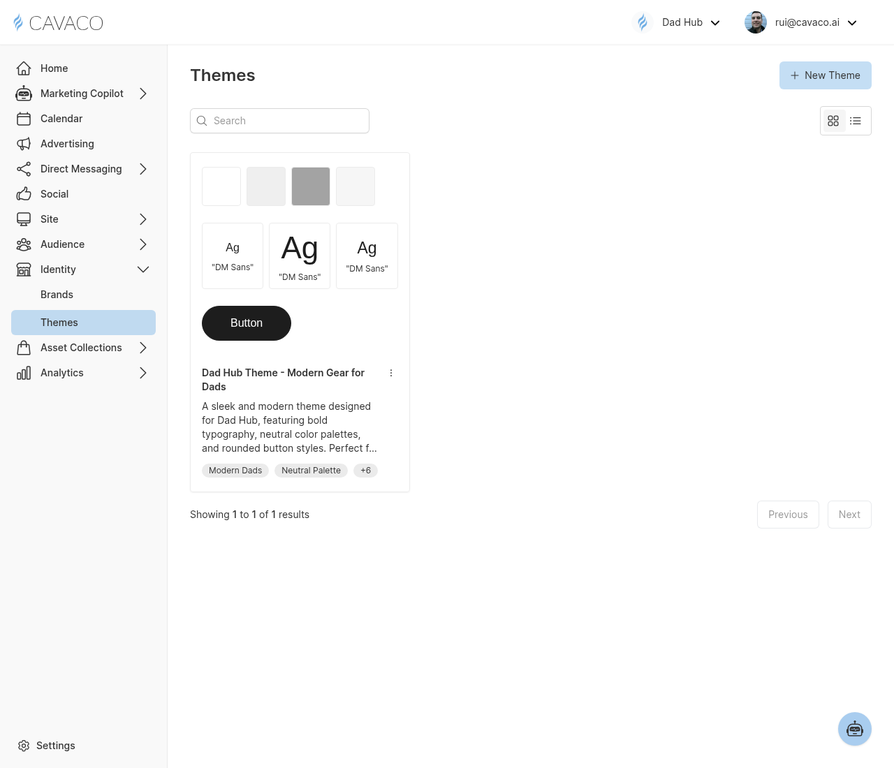
🎨 Step 4: Establish Your Brand Identity
Consistency is key. Cavaco makes it easy to maintain your brand's look and feel across all touchpoints.
- Navigate to Identity > Brands to set up your core brand assets, including logos, typography, and primary colors.
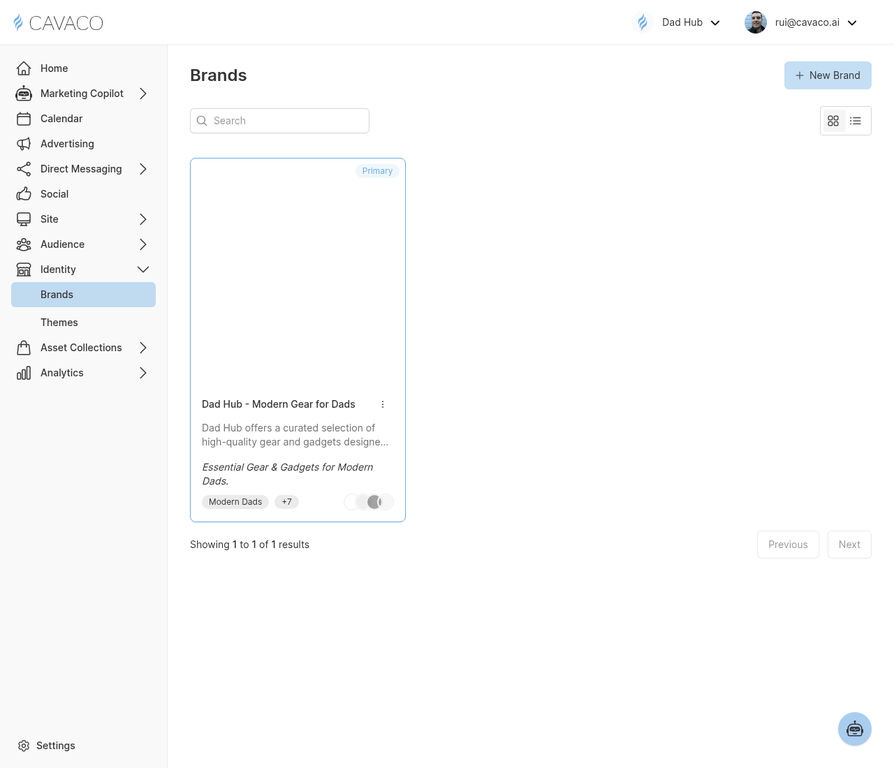
- Then, go to Identity > Themes to create reusable design themes that automatically apply your brand settings to emails, forms, and widgets.
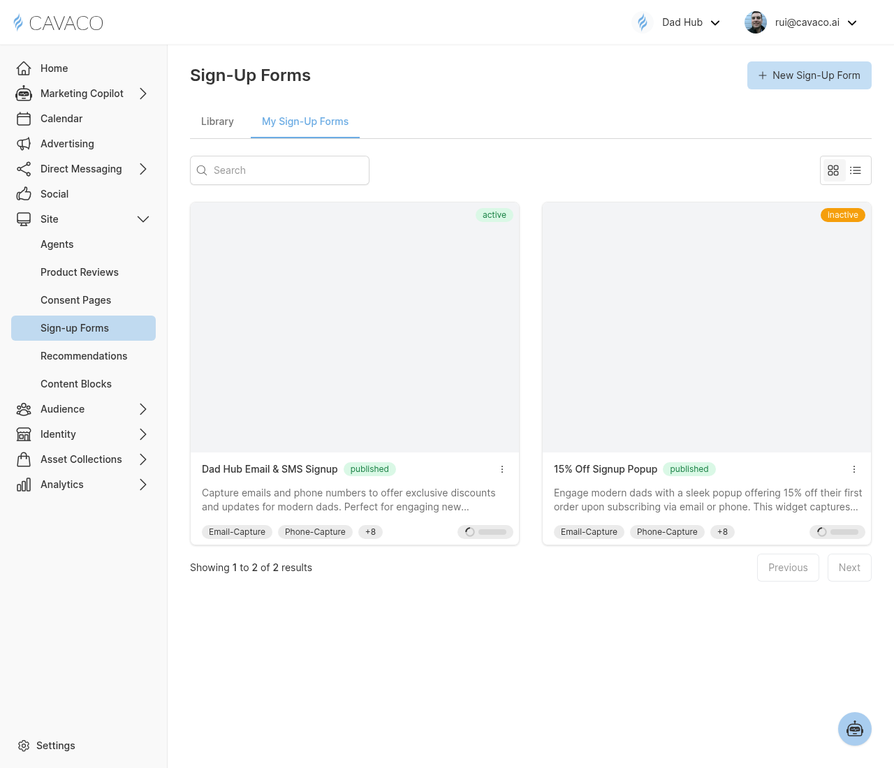
📈 Step 5: Capture Contacts & Build Your Audience
To run effective campaigns, you need an audience. Use Cavaco's onsite widgets to capture leads.
- Navigate to Site > Sign-up Forms to create dynamic, high-converting popups and embedded forms.
- Customize the forms using your pre-configured Themes to ensure they match your storefront perfectly.
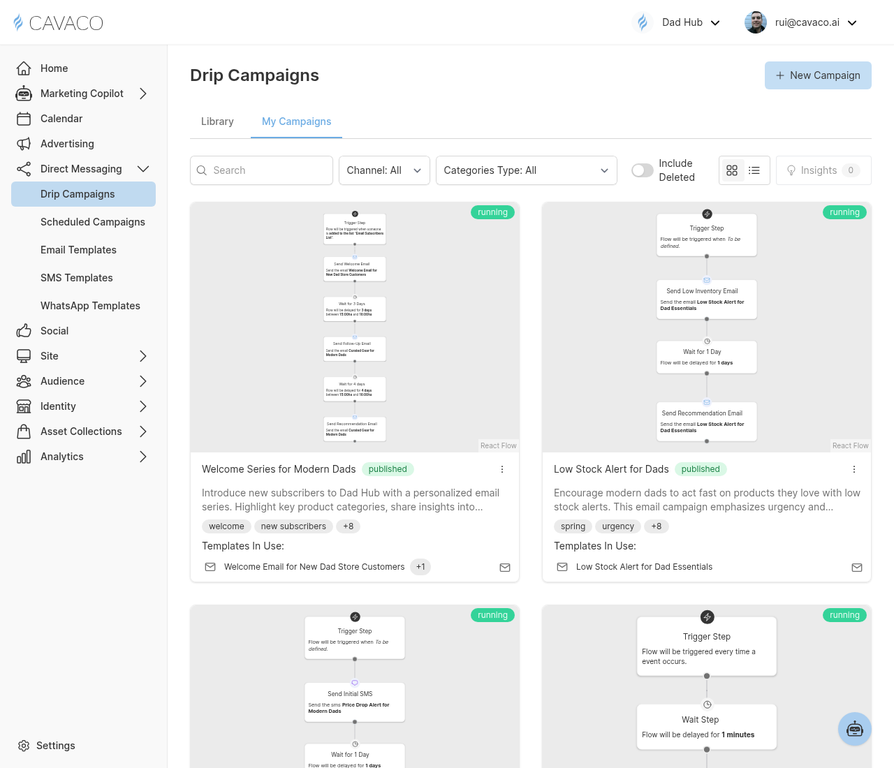
✉️ Step 6: Launch Automated Campaigns
With your audience growing (and your IP warmed up), it's time to engage them automatically.
- Go to Direct Messaging > Drip Campaigns to set up automated flows like Welcome Series, Abandoned Cart Recovery, and Post-Purchase Follow-ups.
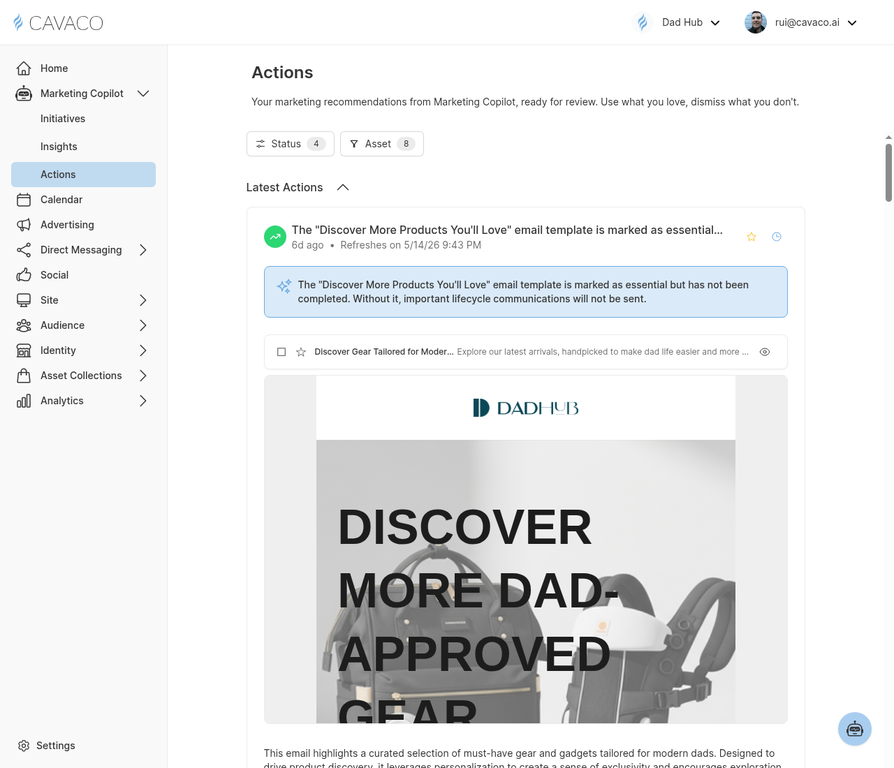
🤖 Step 7: Leverage Marketing Copilot
Let Cavaco's AI assist your marketing strategy.
- Navigate to Marketing Copilot > Actions to review AI-generated recommendations tailored to your store's performance.
- Copilot will suggest essential templates, identify missing lifecycle communications, and provide actionable insights to boost revenue.
🚀 What's Next?
Once you've completed these setup steps, you're ready to scale:
- Monitor performance in the Analytics dashboard.
- Explore advanced audience segmentation in the Audience section.
- Experiment with personalized product recommendations onsite.
For detailed guides on specific features, explore the rest of our Help Center.