Why Brand Identity Matters
Consistent branding across all customer touchpoints — emails, pop-ups, SMS, ads, and on-site widgets — builds trust and recognition. Cavaco's Identity system lets you define your brand once and automatically apply it everywhere.
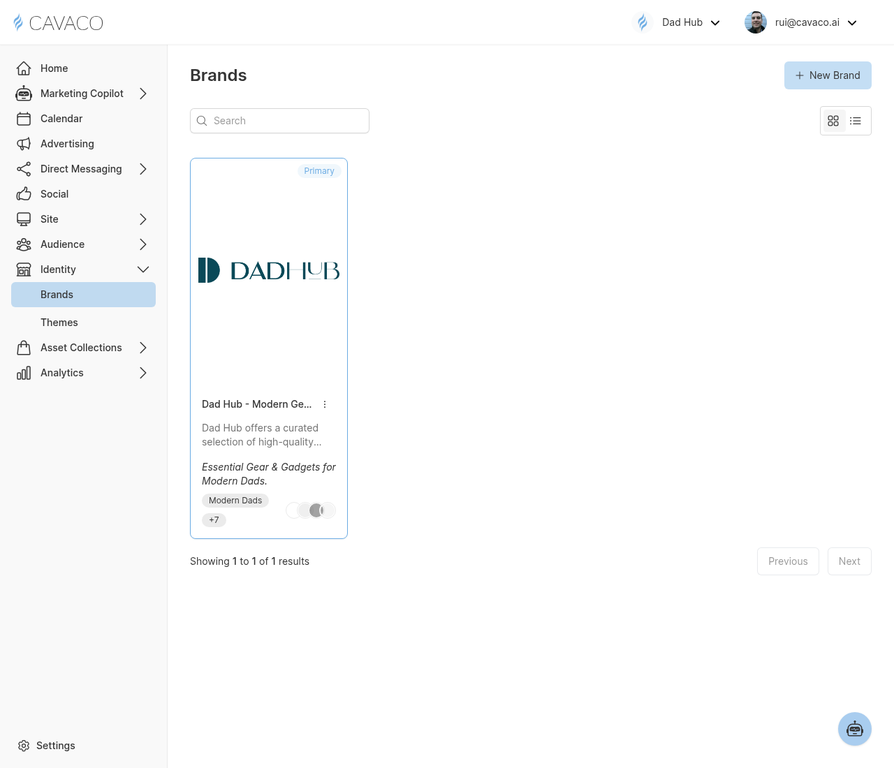
The Brands page is where you define your brand profile including logo, colors, and messaging.
Creating a Brand Profile
Navigate to Identity > Brands and click New Brand. A brand profile includes:
- Logo — Upload your logo in SVG, PNG, or JPG format
- Brand colors — Primary, secondary, and accent colors
- Brand voice — Tone descriptors that guide AI-generated copy
- Target audience — Audience persona tags used by the Marketing Copilot
- Tagline — Your brand's core value proposition
Themes
Themes control the visual design of all customer-facing content. Navigate to Identity > Themes to configure typography, button styles, email layout defaults, and widget appearance.

The Themes page lets you configure the visual design system applied to all customer-facing content.
Applying Brands to Campaigns
When creating any campaign, email template, or on-site widget, you'll be prompted to select a brand. All styling, copy tone, and visual elements will automatically reflect your chosen brand's settings.