Welcome to Cavaco
Cavaco is an AI-powered marketing platform built for e-commerce brands. It combines email, SMS, paid ads, on-site personalization, and AI-driven insights into a single unified platform — so you can grow revenue without juggling multiple tools.
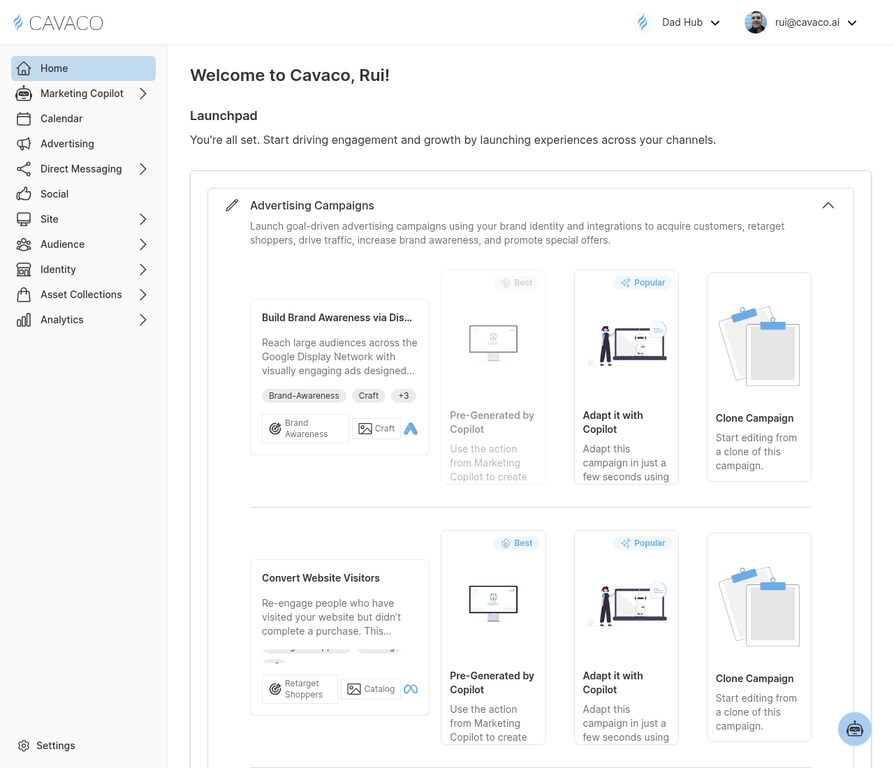
The Cavaco dashboard — your central hub for revenue metrics, campaign performance, and AI-powered recommendations.
Onboarding Checklist
Follow these steps in order to get the most out of Cavaco as quickly as possible:
- Connect your store — Navigate to Settings > Integrations and connect Shopify, BigCommerce, or WooCommerce
- Set up your brand identity — Go to Identity > Brands to configure your logo, colors, and brand voice
- Configure your channels — Set up email and SMS sending preferences in Settings > Channels
- Install the tracking pixel — For non-Shopify stores, install the pixel from Settings > Domains
- Import your contacts — Upload your existing subscriber list in Audience > Profiles
- Launch a Welcome Series — Create your first drip campaign in Direct Messaging > Drip Campaigns
- Review your Copilot recommendations — Check Marketing Copilot for AI-powered actions tailored to your store
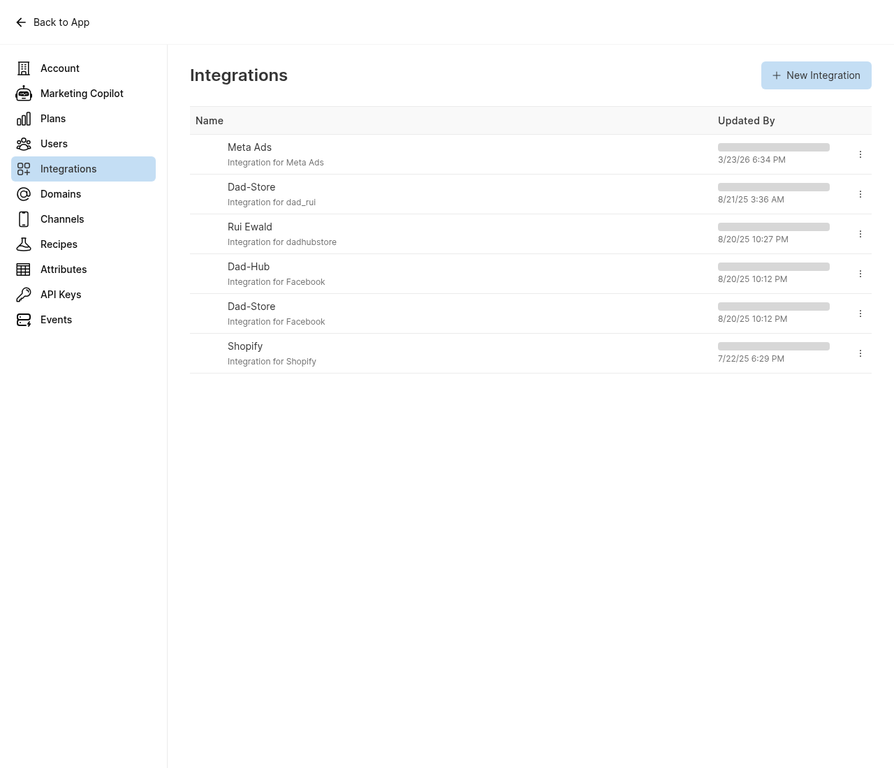
Step 1: Connect your store from the Integrations page.
What to Expect in the First 30 Days
In the first week, Cavaco will sync your historical data and the Marketing Copilot will begin generating recommendations. By day 14, you should have your first automated campaigns running. By day 30, you'll have a clear picture of which channels and segments are driving the most revenue.