.png)


Overview
Sending your first email campaign in Cavaco takes just a few minutes. This guide walks you through designing a professional email, selecting your audience, and sending or scheduling your campaign.
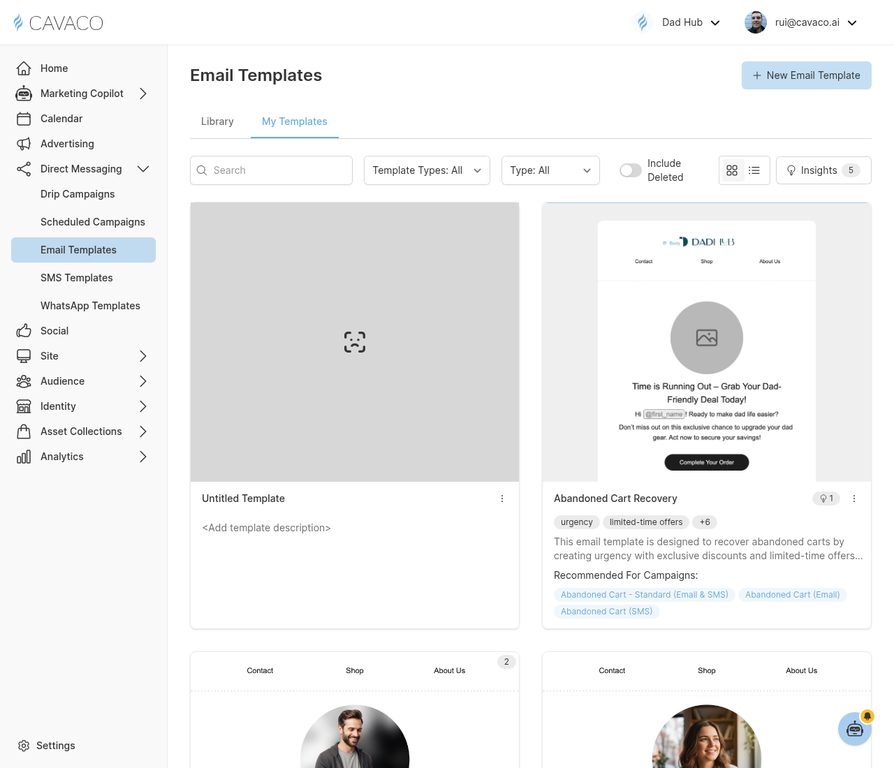
Start by creating or selecting an email template from the Templates page.
Step 1: Create or Select a Template
Navigate to Direct Messaging > Email Templates and either select an existing template or click New Template to build a new one. The drag-and-drop editor makes it easy to create professional emails without any coding knowledge.
Step 2: Create a New Campaign
Navigate to Direct Messaging > Scheduled Campaigns and click New Campaign. Select Email as the channel.
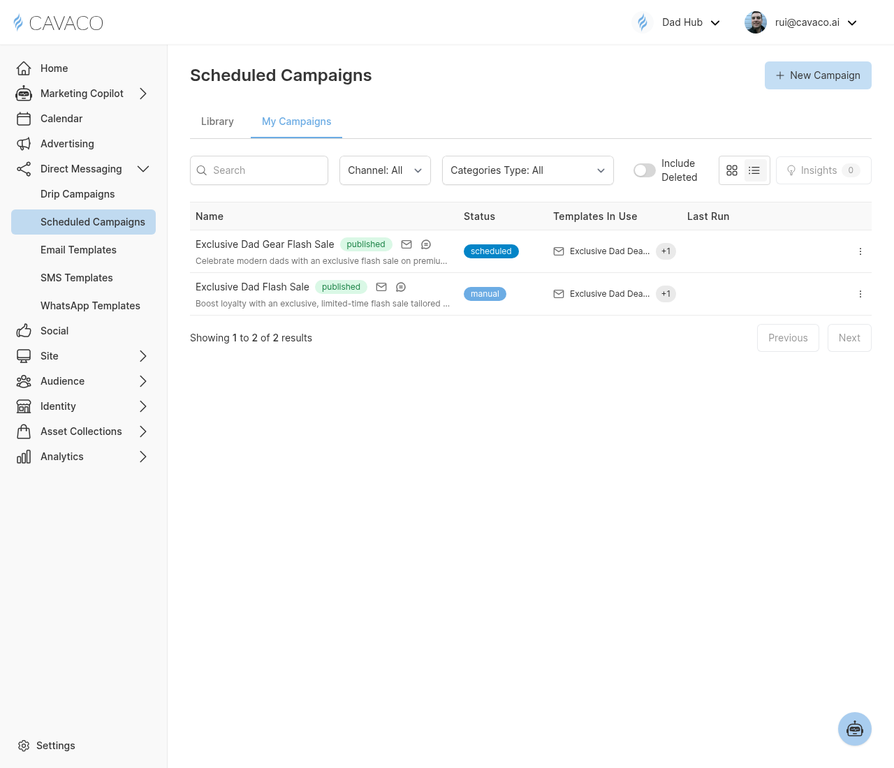
Create a new scheduled campaign to send your email to a specific audience.
Step 3: Select Your Audience
Choose which contacts will receive this email. You can select an existing segment, create a new one, or send to all subscribed contacts. Cavaco shows you the estimated reach before you send.
Step 4: Configure Campaign Settings
Set your subject line, preview text, from name, and reply-to address. These settings significantly impact your open rate — a compelling subject line is the single most important factor in email performance.
Step 5: Send or Schedule
Click Send Now to send immediately, or Schedule to set a future send time. We recommend scheduling for Tuesday, Wednesday, or Thursday between 10 AM and 2 PM in your audience's primary time zone for the best open rates.
.png)