Getting Started: Installing Cavaco AI on BigCommerce
If your store runs on BigCommerce, getting started with Cavaco AI is a streamlined process. The integration uses BigCommerce's single-click install to automatically sync your product catalog, customer data, and onsite events.
Step 1: Install from the BigCommerce Marketplace
You can find Cavaco AI directly within your BigCommerce Control Panel. Navigate to Apps > Marketplace, search for "Cavaco AI", and click the app listing. From there, click the Install button to begin the setup process.
Step 2: Authorize the App
Once you click Install, BigCommerce will ask you to authorize Cavaco AI to access your store data. We request specific scopes required to sync your catalog for AI recommendations, read profiles for segmentation, and track purchase events.
Review the requested permissions and click Confirm on the authorization screen.
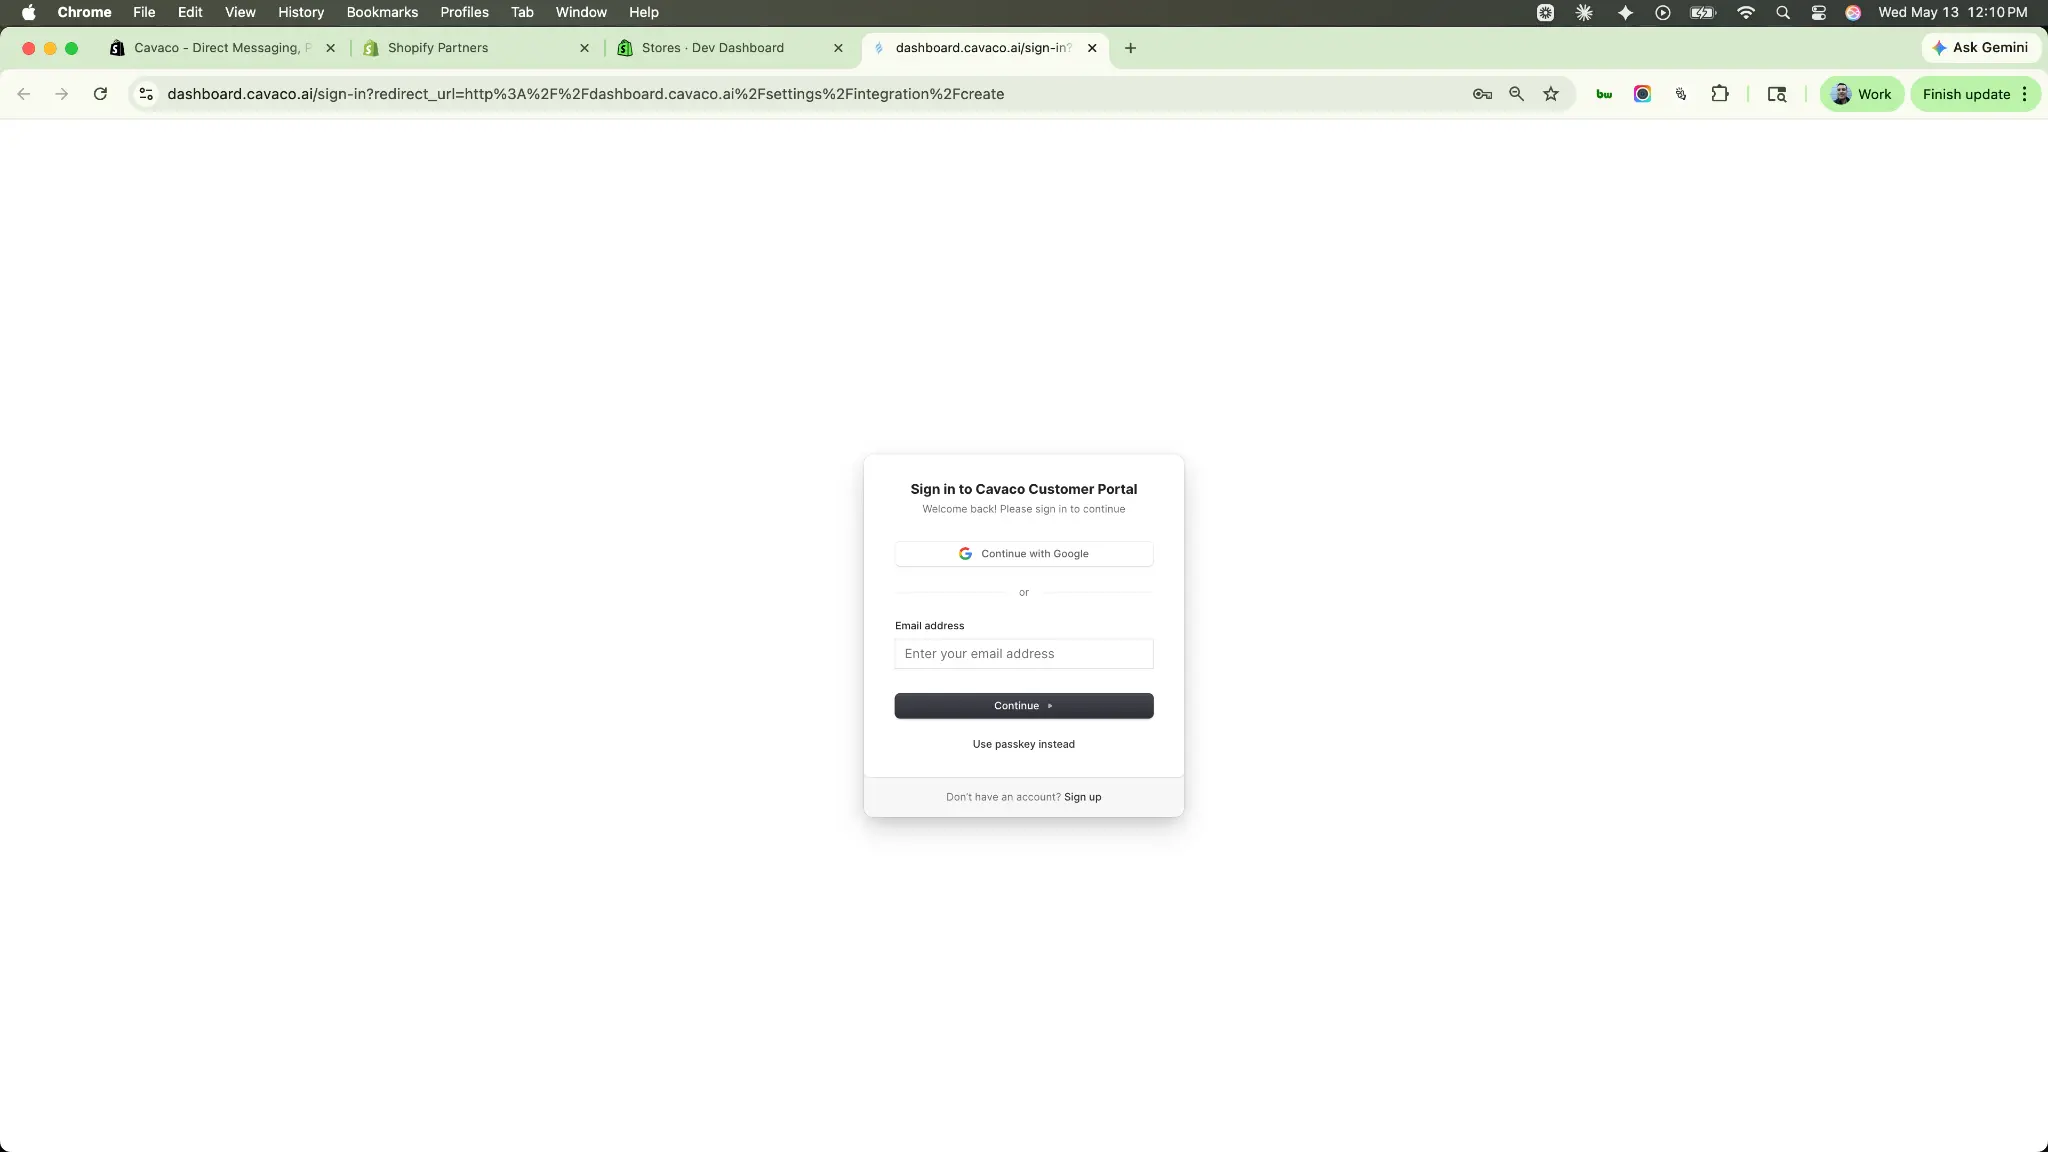
Step 3: Create Your Cavaco Account
After authorizing the app, you will be redirected to the Cavaco AI sign-in page. You can either sign in with an existing account or create a new one.
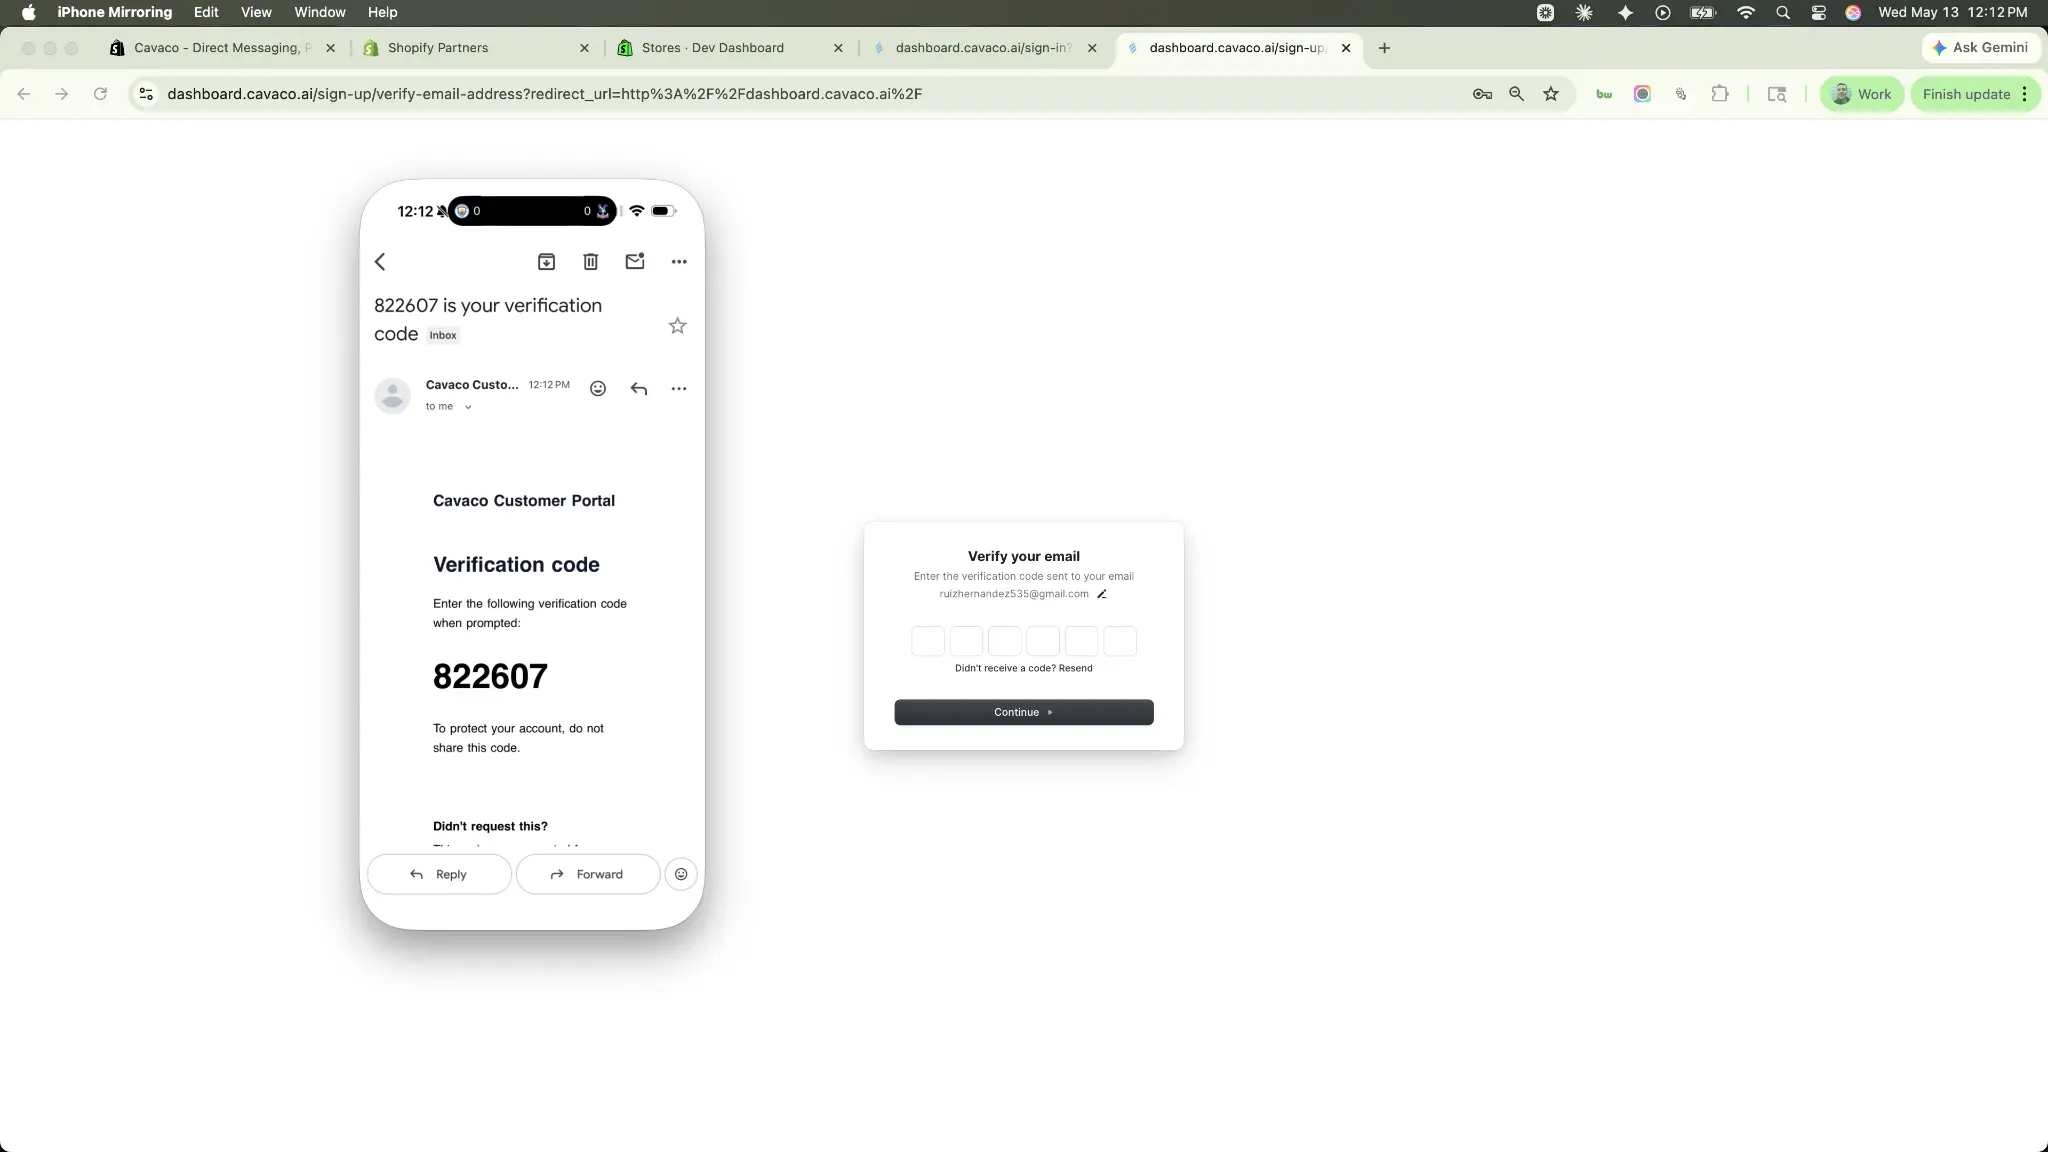
If creating a new account, fill out your details and verify your email address using the 6-digit code sent to your inbox.
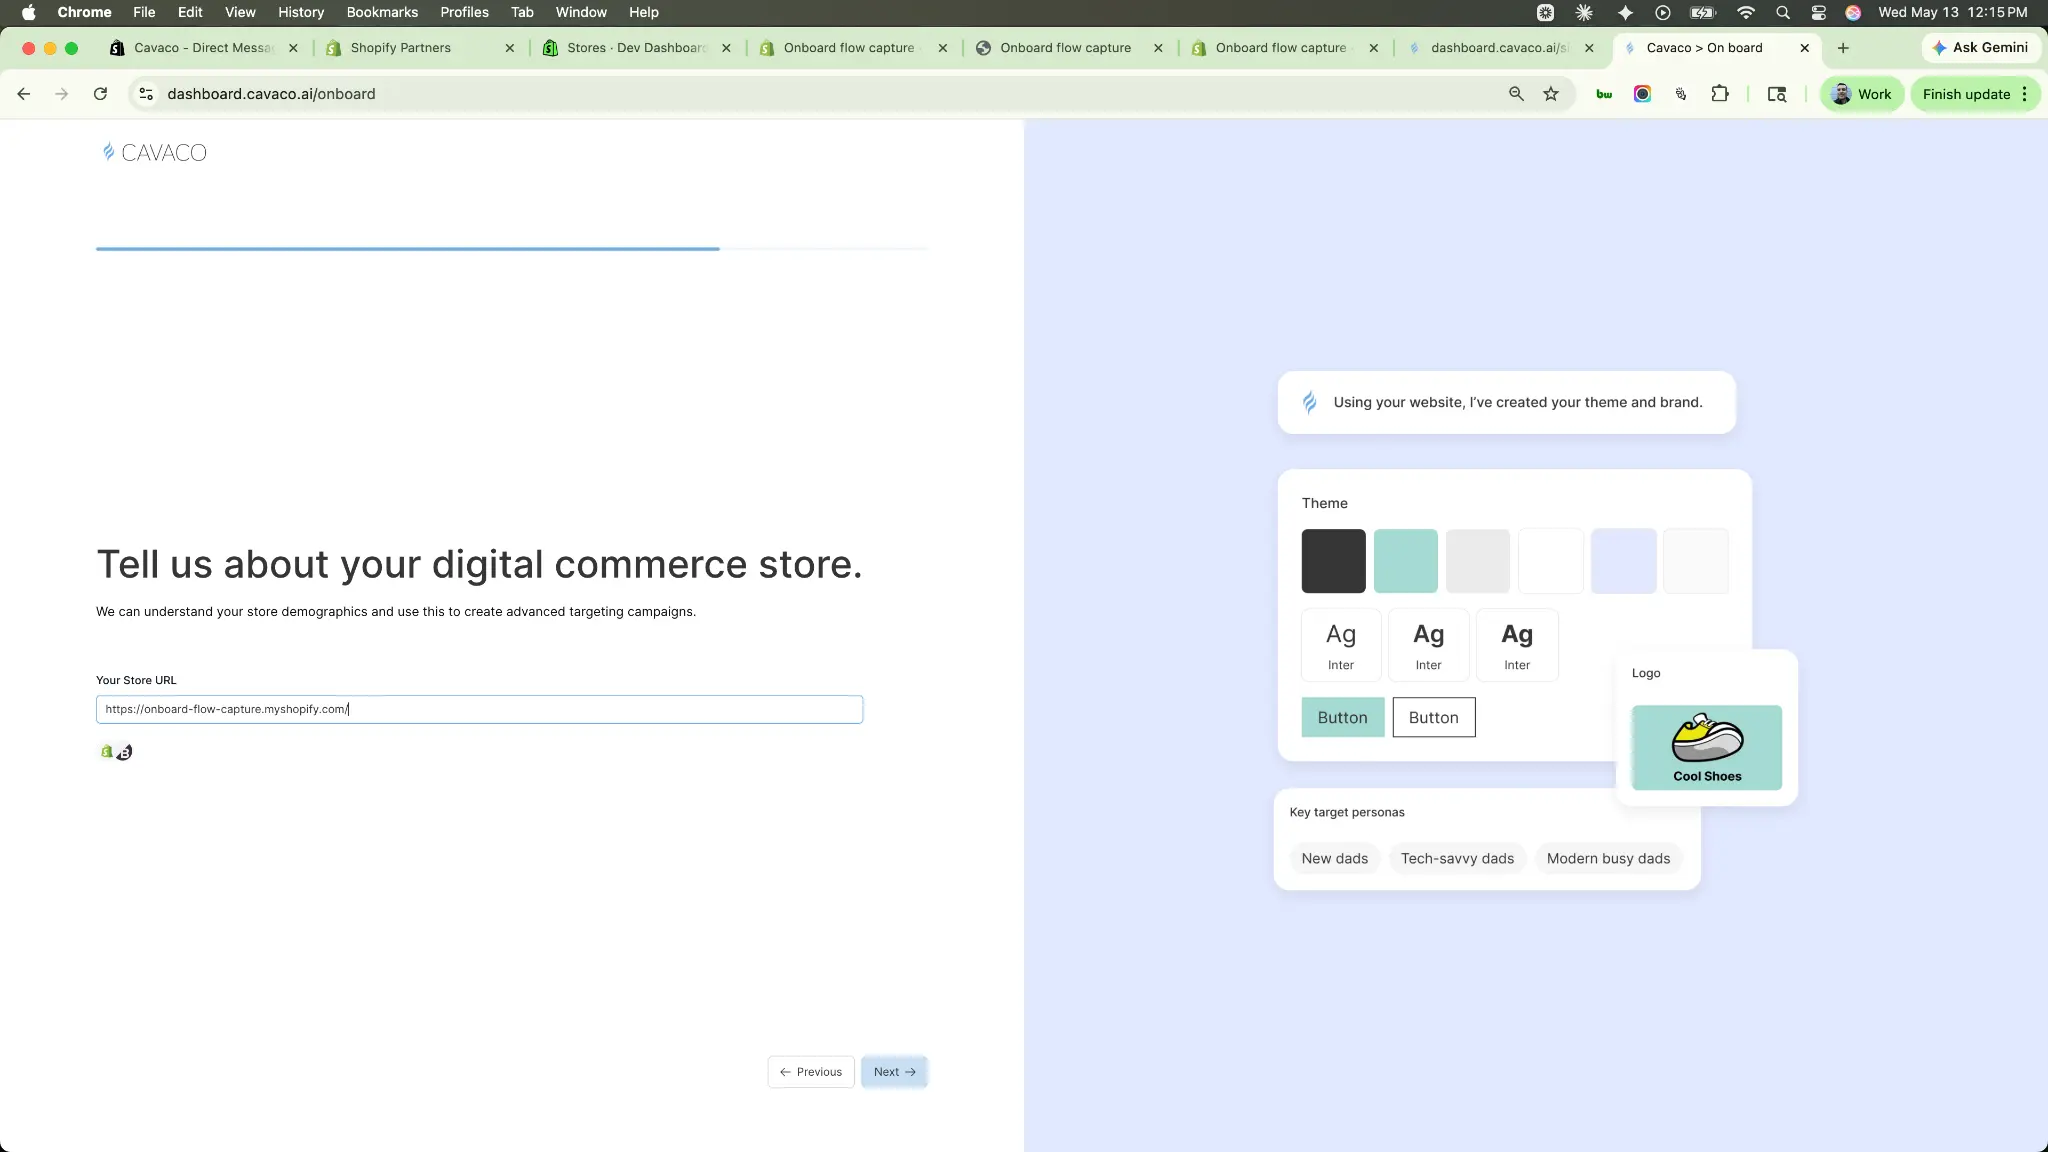
Step 4: Complete the Onboarding Wizard
Once verified, you'll enter the Cavaco onboarding wizard. This quick process collects your company details, personal information, and your store URL.

When you enter your store URL, Cavaco AI automatically generates your brand theme, colors, fonts, logo, and target personas from your website in real time.
Step 5: Take the Feature Tour
Before jumping into the dashboard, Cavaco will give you a quick tour of its core features, including AI insights, email templates, widget builders, social automation, drip campaigns, the AI shopper bot, and analytics. This tour gives you a high-level overview of everything you can do with the platform.
Step 6: Finalize Your Setup
After the tour, you will land on the Cavaco Dashboard home, where you'll see your "Complete Your Setup" checklist. Because you started from BigCommerce, your Account Creation and Plan Selection are already complete.
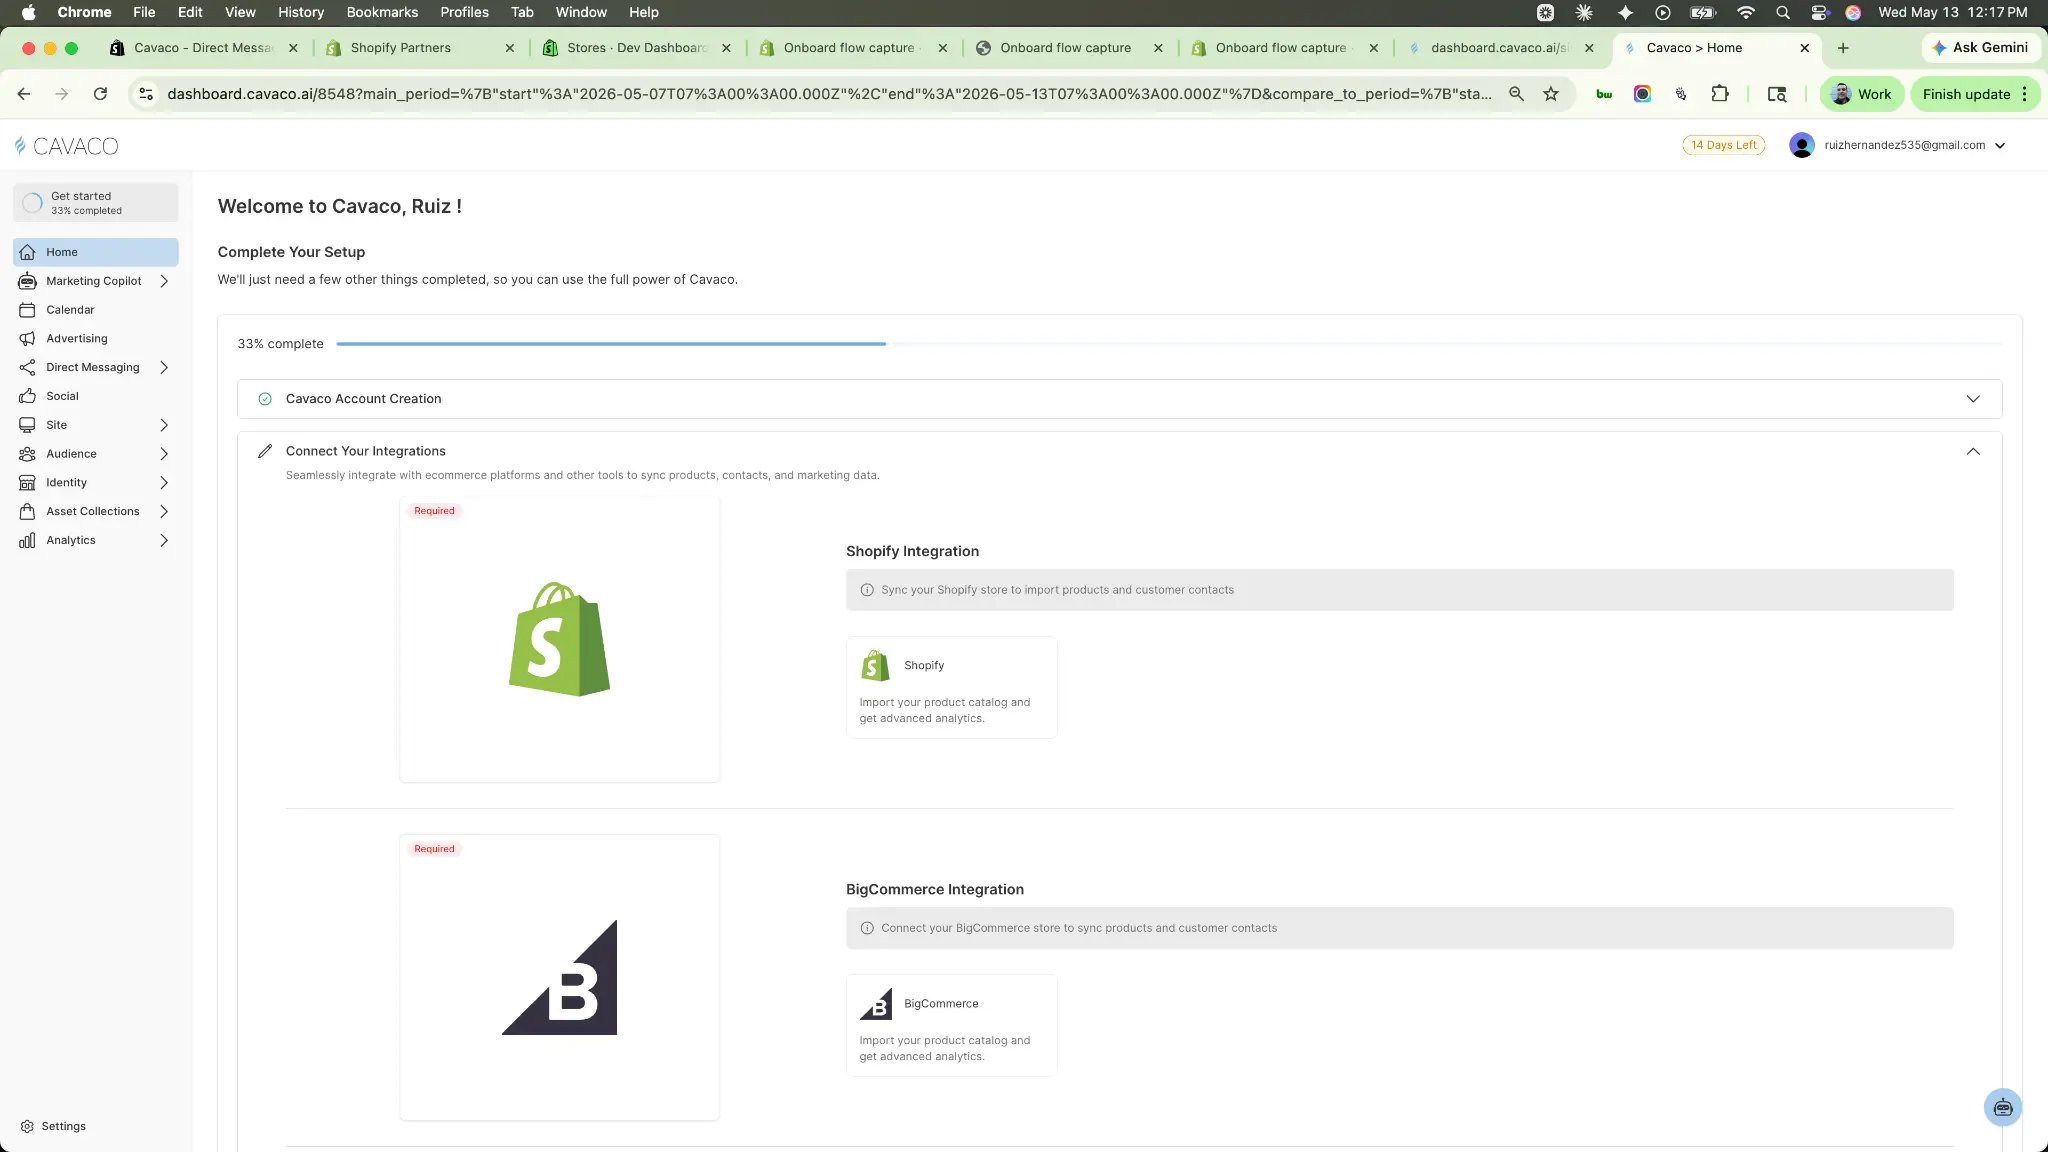
Click on Connect Your Integrations and select the BigCommerce "Import your product catalog" button. This will take you back to your BigCommerce Control Panel to finalize the data connection. Once connected, you will be redirected back to the Cavaco dashboard.
Note: For BigCommerce, you must also ensure that the Data Layer is turned on in your Advanced Settings > Data Solutions for tracking to work properly.
Next Step: Return to the Main Getting Started Guide to walk through the rest of the onboarding checklist (Visual Theme, Brand Identity, and Domain Setup) and launch your first campaign.