What Are Pop-up Widgets?
Pop-up widgets are on-site overlays that appear to visitors based on rules you define — such as exit intent, time on page, or scroll depth. They're one of the most effective tools for capturing email and SMS subscribers and promoting offers.
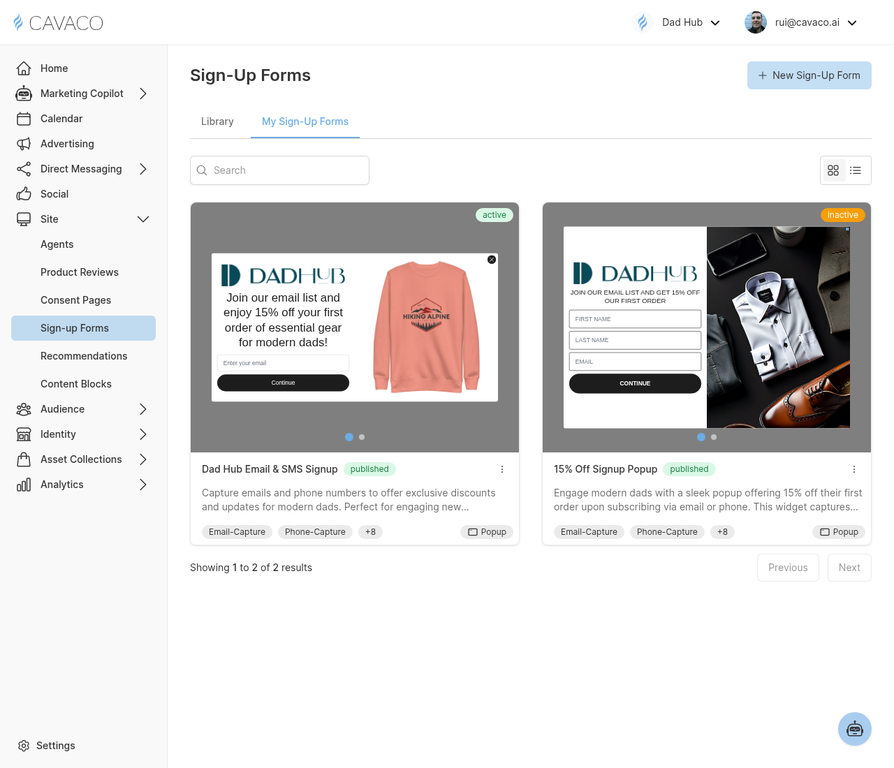
The Sign-up Forms page shows all your on-site widgets including pop-ups, flyouts, and embedded forms.
Creating a New Pop-up
Navigate to Site > Sign-up Forms and click New Widget. Select Pop-up as the widget type. The widget builder walks you through:
- Design — Choose a template or build from scratch
- Content — Write your headline, body copy, and CTA button text
- Form fields — Select which fields to collect (email, phone, name)
- Offer — Optionally attach a discount code or lead magnet
- Display rules — Set when and where the pop-up appears
- Success state — Configure what happens after submission
Display Rules
Display rules control exactly when your pop-up shows. Cavaco supports these trigger types:
- Exit intent — Fires when the visitor moves their cursor toward the browser's close button
- Time on page — Shows after X seconds on the page
- Scroll depth — Triggers when the visitor scrolls X% down the page
- Page targeting — Only show on specific URLs or page types
- Visitor type — Target new visitors, returning visitors, or specific segments
Installing on Your Site
To display widgets on your site, you need to install the Cavaco tracking pixel. For Shopify stores, this is done automatically when you connect your store. For other platforms, copy the pixel code from Settings > Domains and paste it into your site's <head> tag.