To ensure reliable email delivery and maintain your brand's identity, Cavaco requires you to configure a verified sending domain. This setup improves email deliverability, authentication, and customer trust by establishing your brand as a verified sender.
Why Setting Up a Sending Domain Matters
Modern email systems like Gmail, Outlook, and Yahoo rely on domain authentication protocols like SPF, DKIM, and DMARC to determine whether incoming emails are legitimate. Without these protocols in place, your messages are more likely to be marked as spam or rejected entirely.
✅ With Cavaco, authenticated domains improve open rates, reduce bounce rates, and allow full branding of your messages.
Key Terminology:
- Root Domain: Your brand's primary domain (e.g.,
yourbrand.com). - Sending Domain: A subdomain used only for sending emails (e.g.,
mail.yourbrand.com). - DKIM (DomainKeys Identified Mail): Authenticates that your email hasn’t been tampered with.
- SPF (Sender Policy Framework): Tells receiving servers which IPs are allowed to send mail for your domain.
- DMARC: Builds on SPF and DKIM, helping email providers decide what to do with unauthenticated mail.
For more on how DKIM works: DMARC Overview
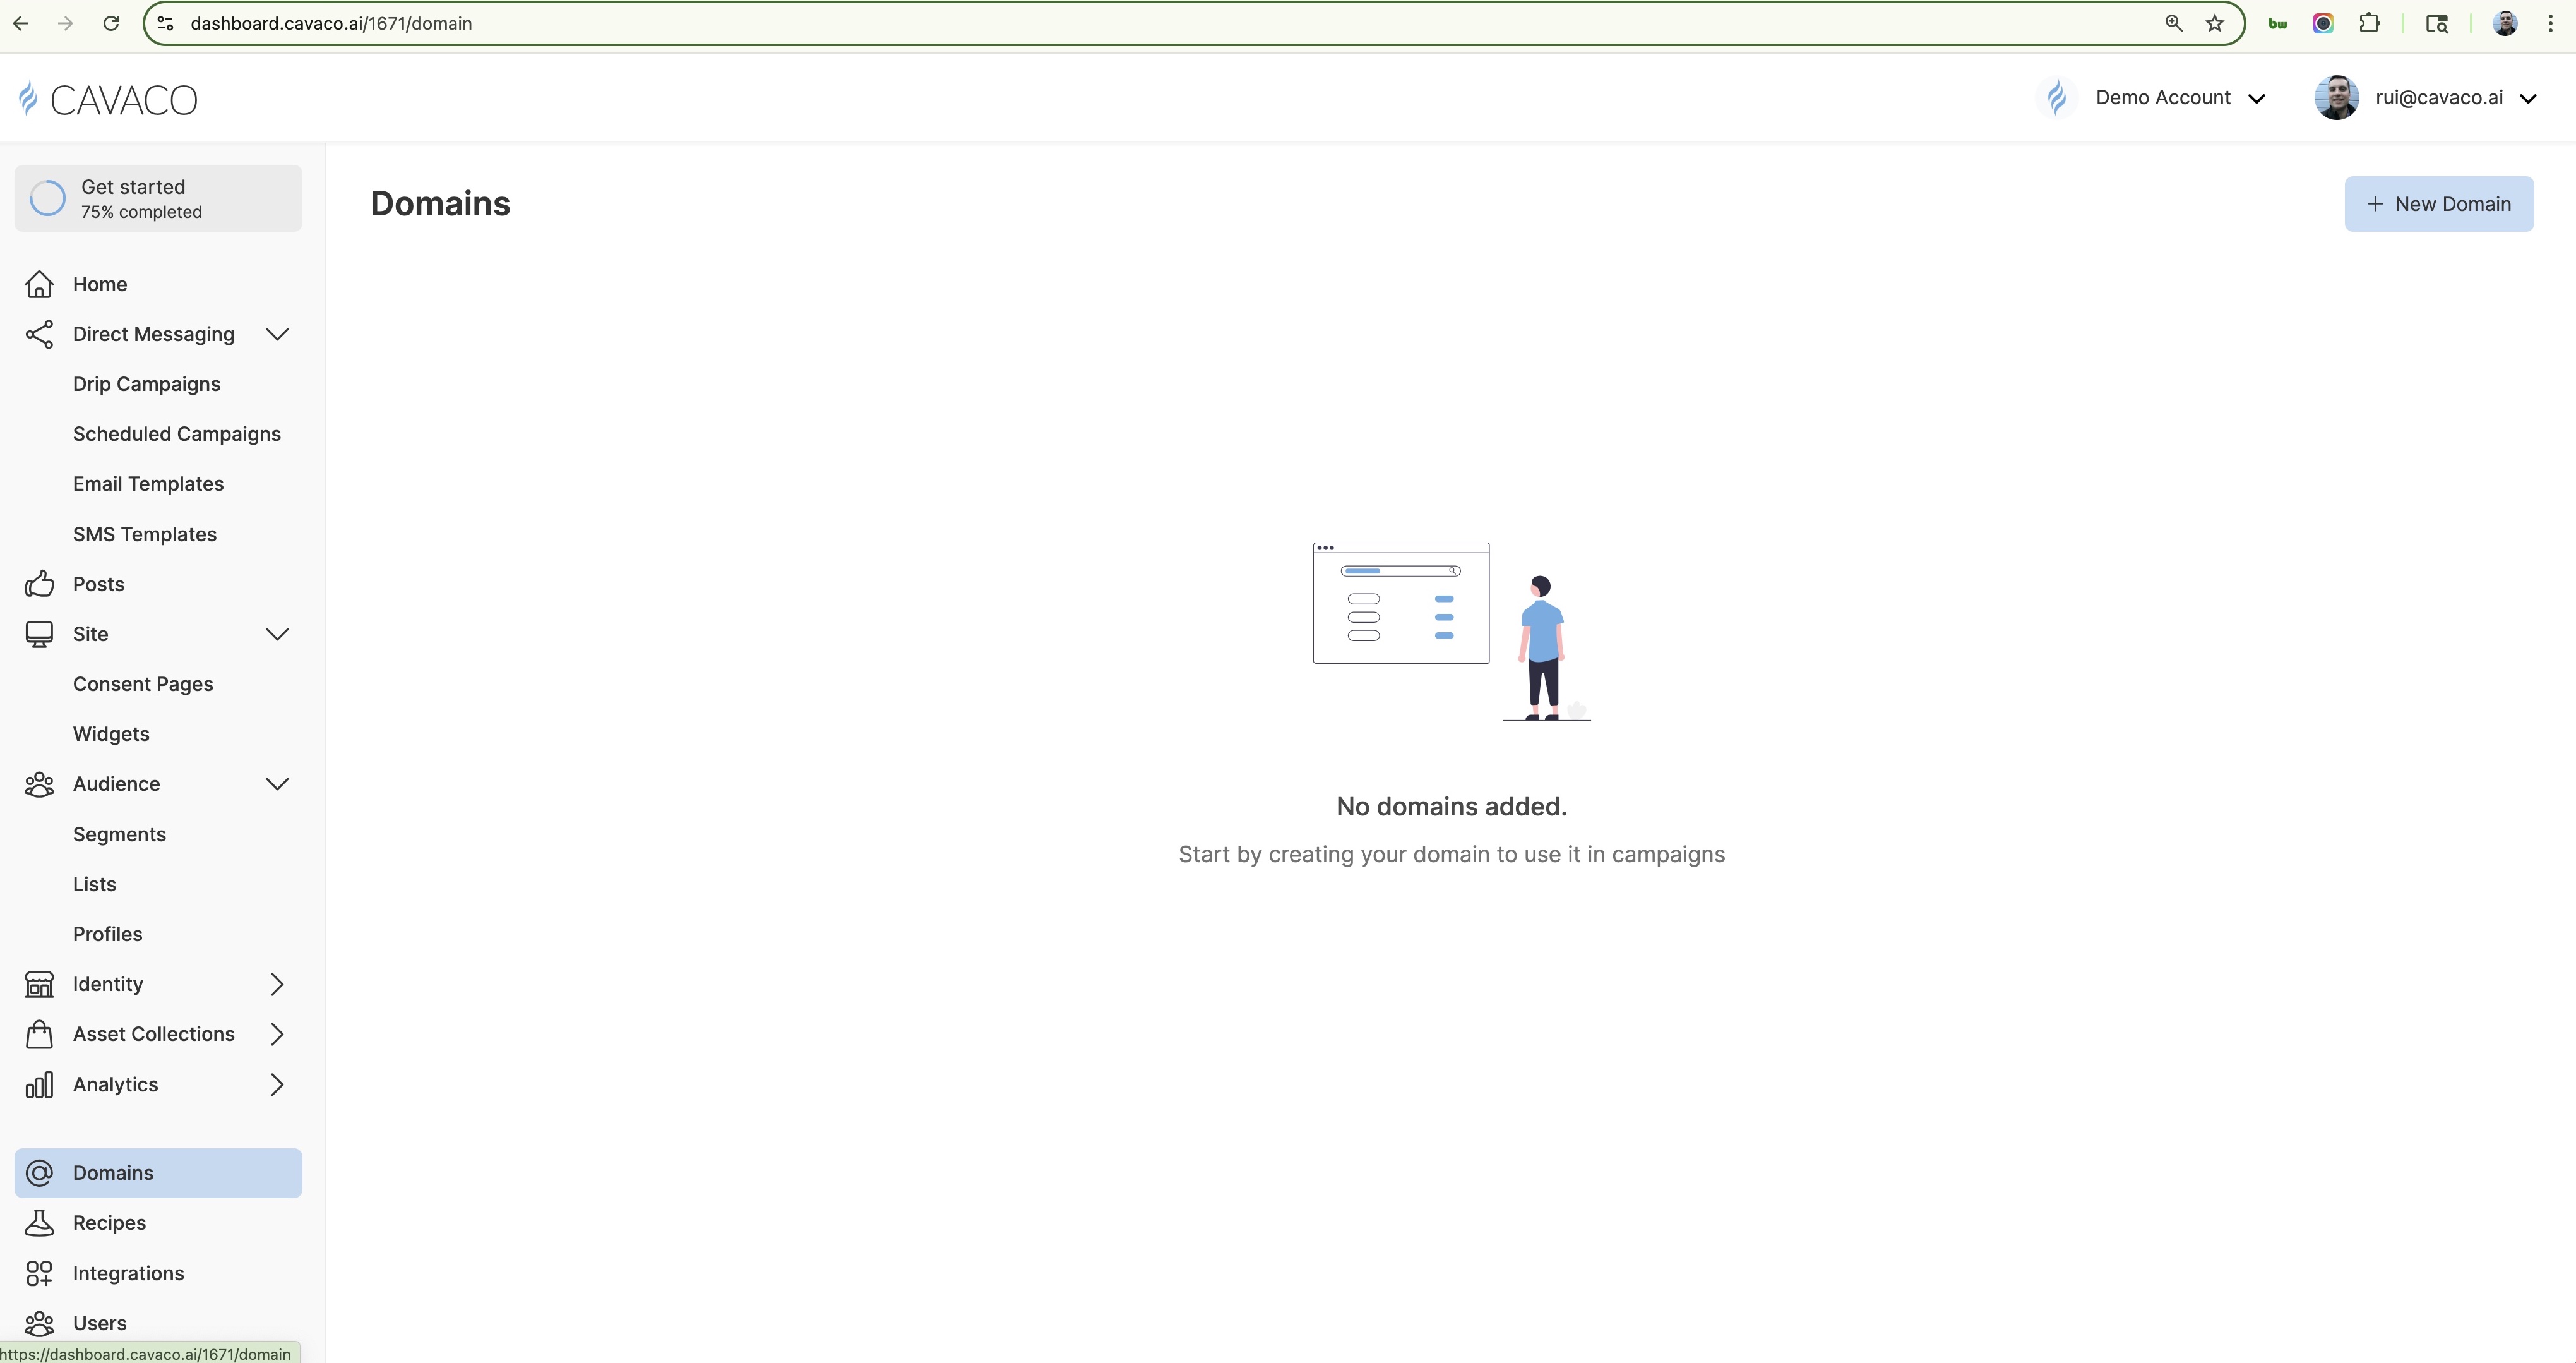
Step-by-Step: Domain Setup in Cavaco
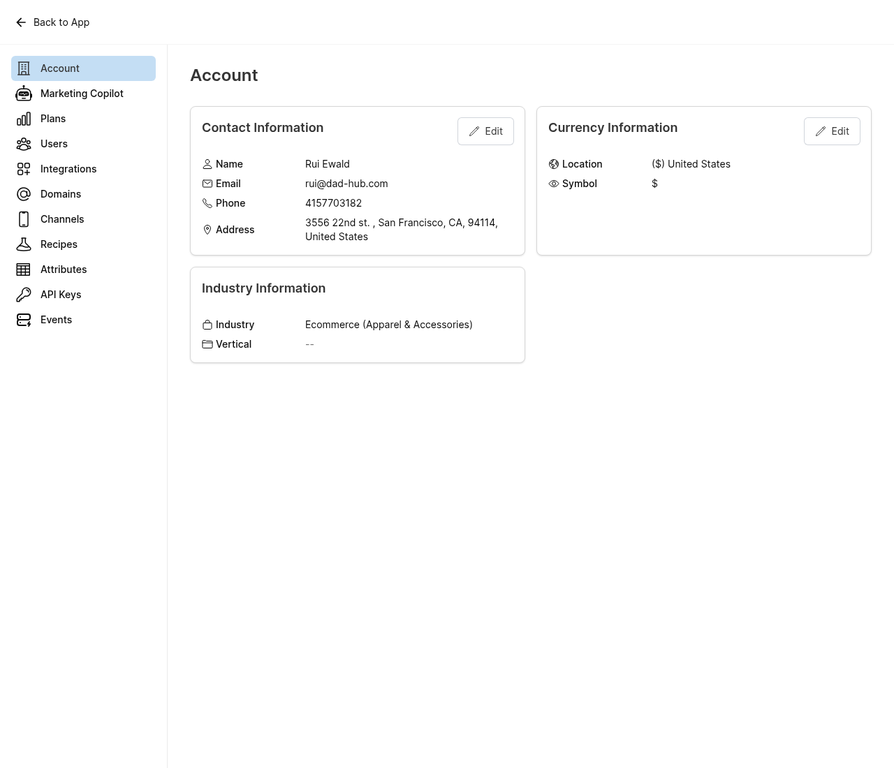
- Go to Settings > Domains
- Click "New Domain" in the top-right corner
- Enter your Root Domain (e.g.,
yourbrand.com) - Enter your Sending Domain (e.g.,
mail.yourbrand.com) - Click Next
-
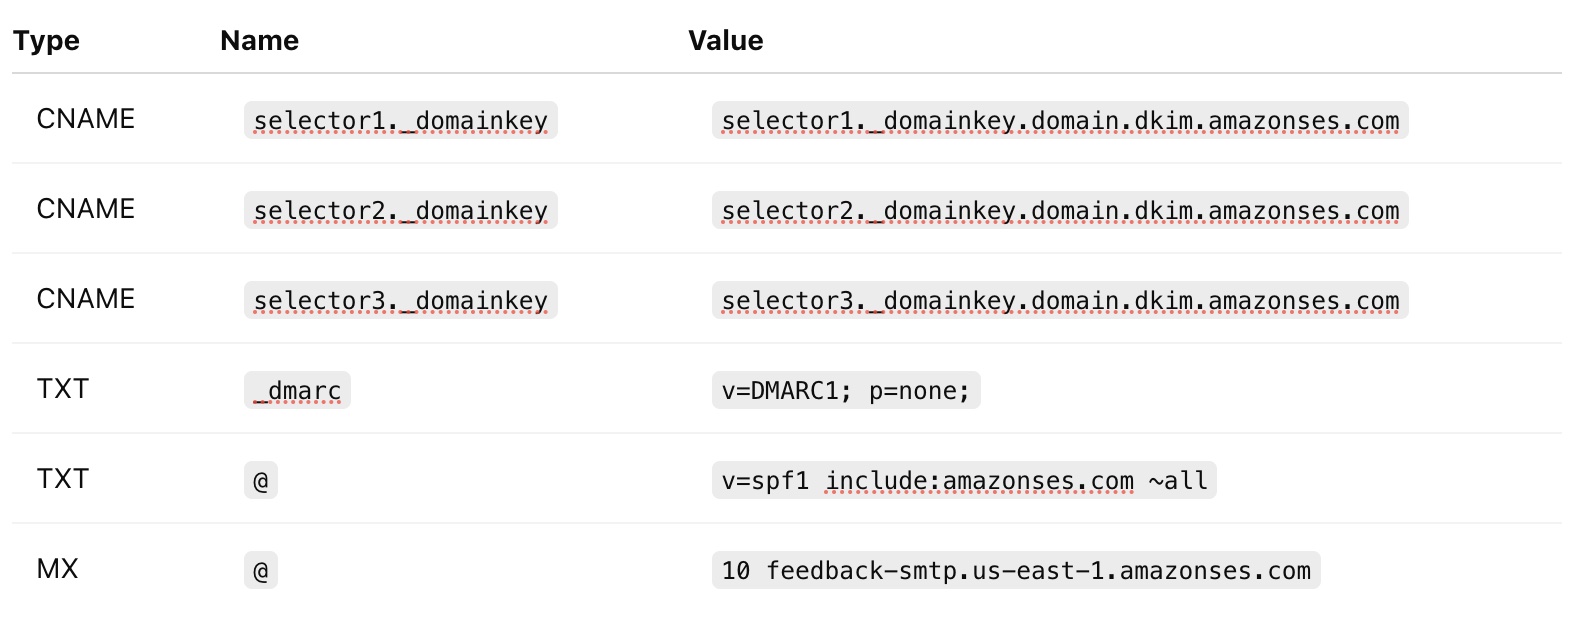
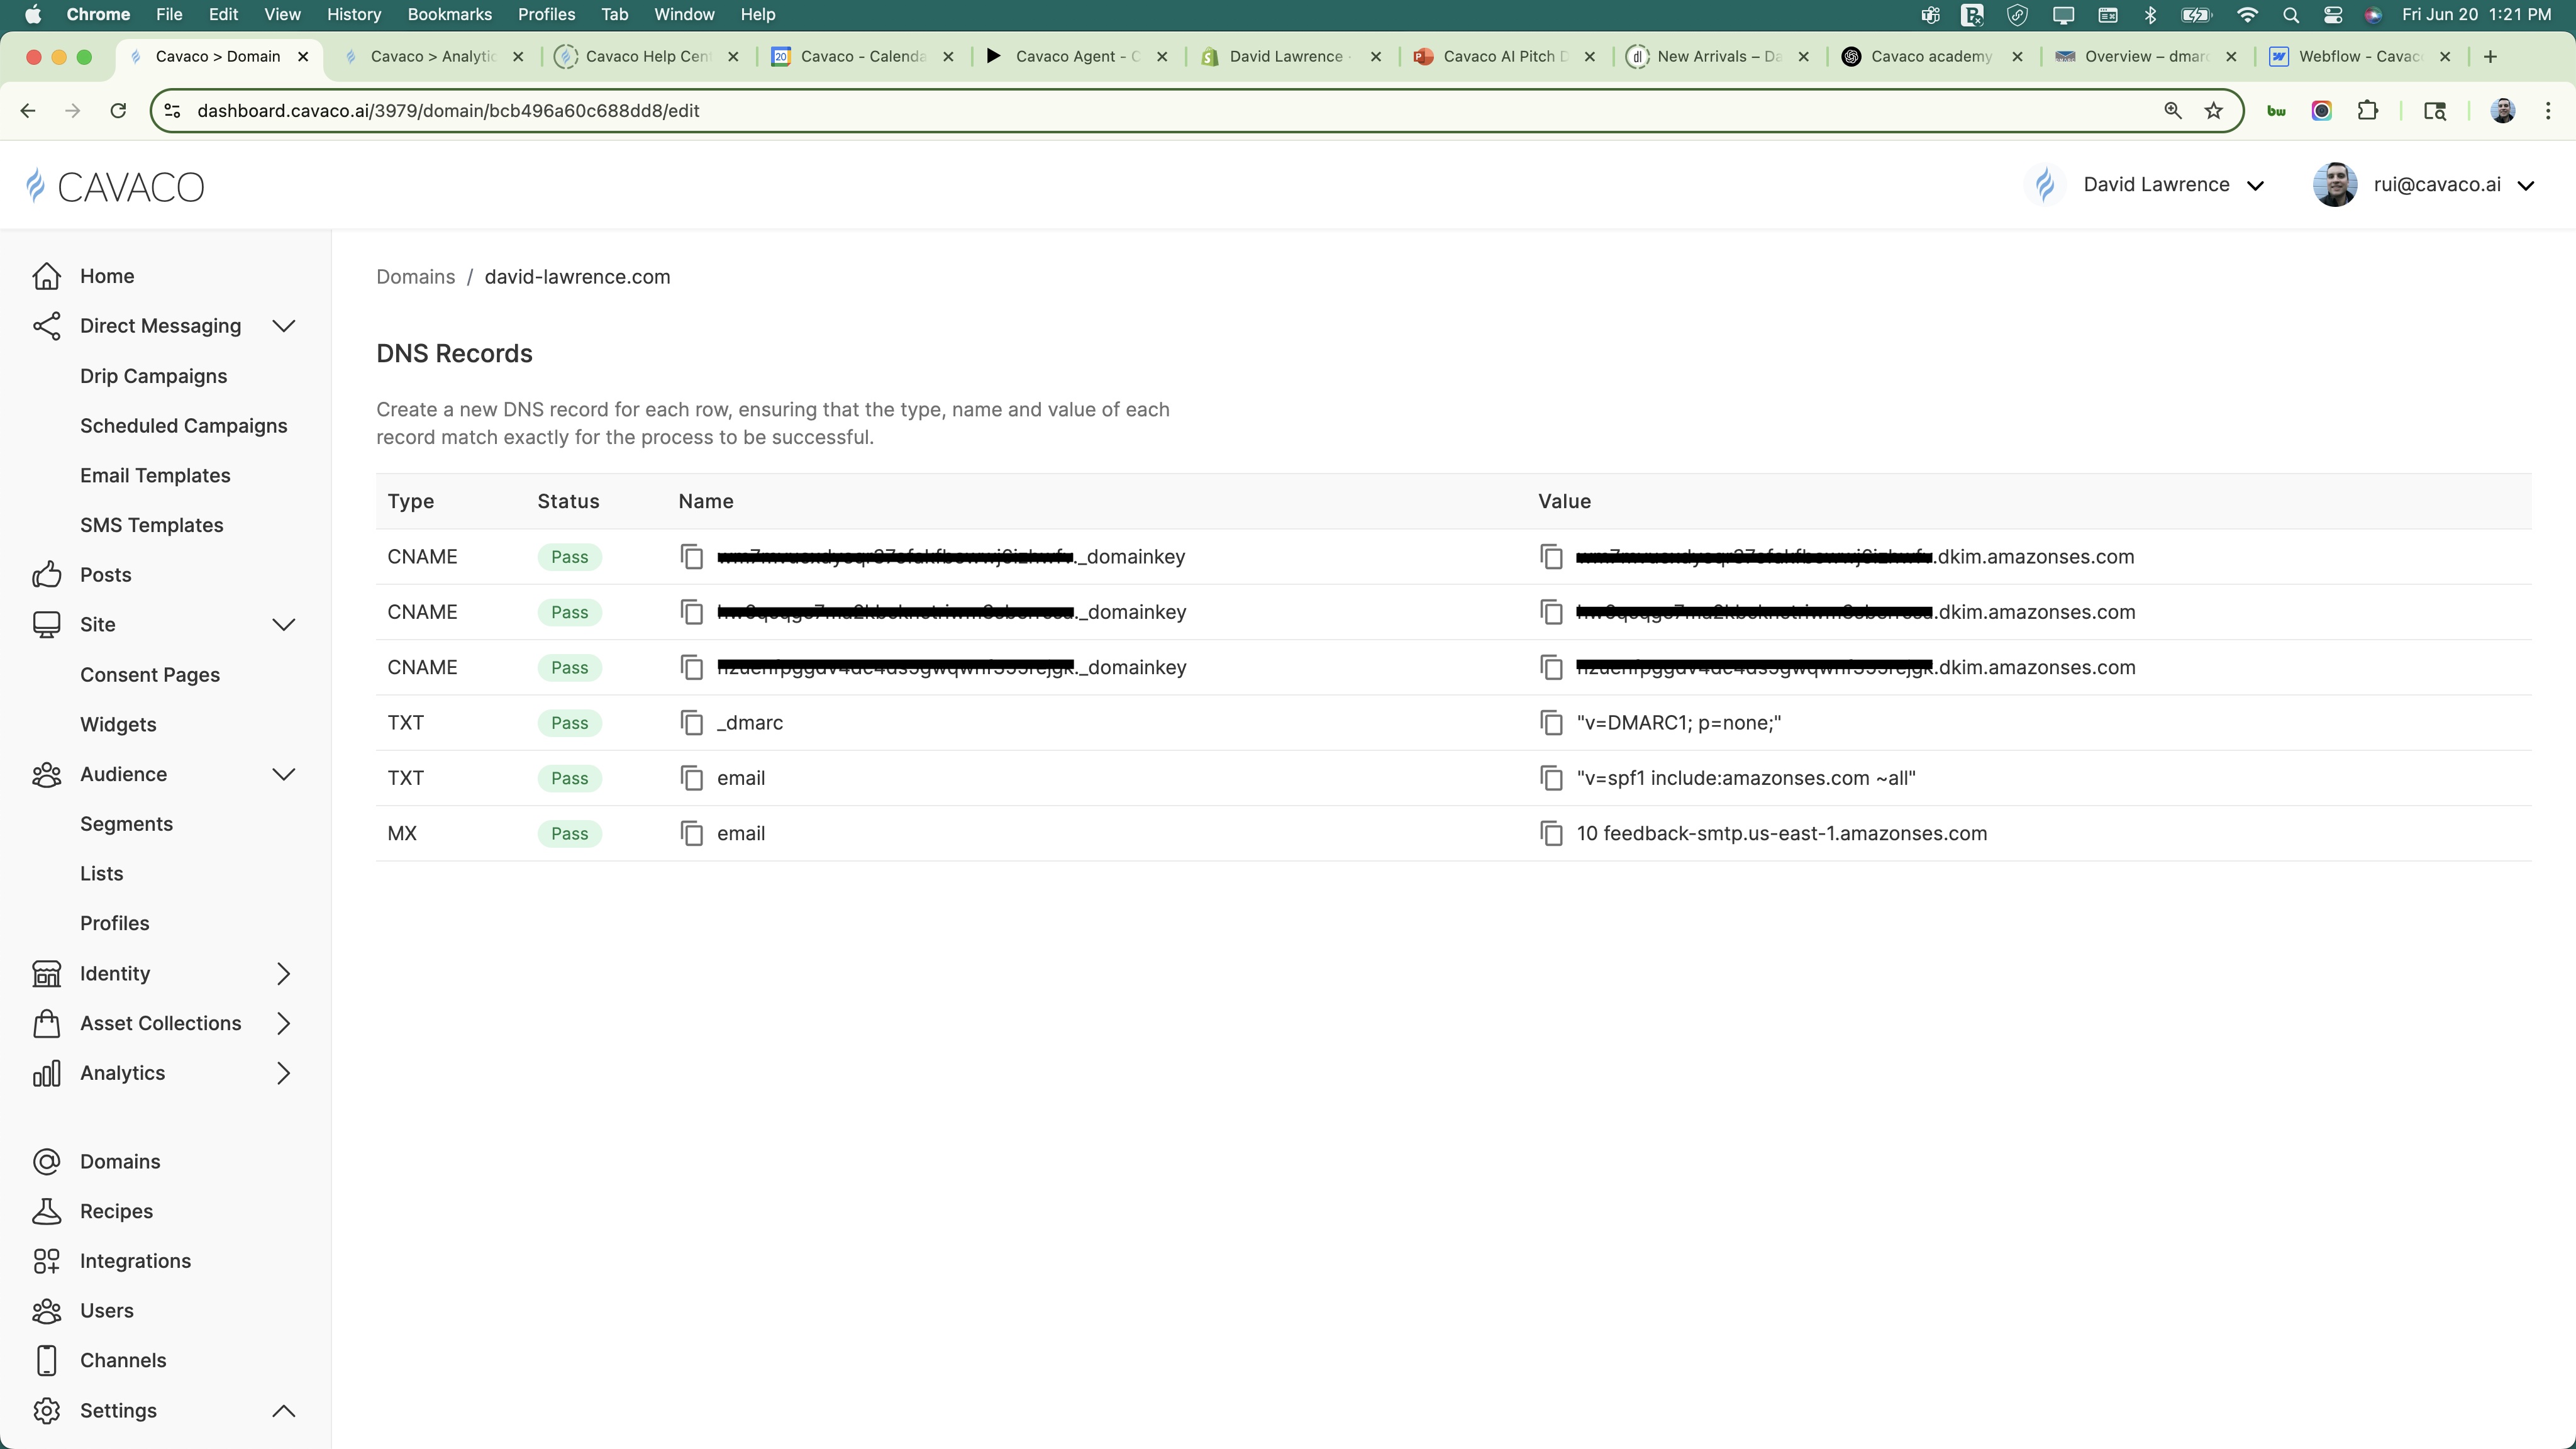
Cavaco will generate a set of DNS records to add to your domain registrar. These include:
- CNAME records for DKIM
- TXT records for SPF and DMARC
- MX records for message routing validation
Option A: Automatic DNS Setup with Entri (Recommended)
Cavaco AI integrates with Entri, a third-party service that can automatically add all required DNS records to your domain registrar on your behalf — no manual copy-pasting, no technical knowledge needed.
Entri supports all major domain registrars including GoDaddy, Namecheap, Cloudflare, Google Domains, Squarespace, and more.
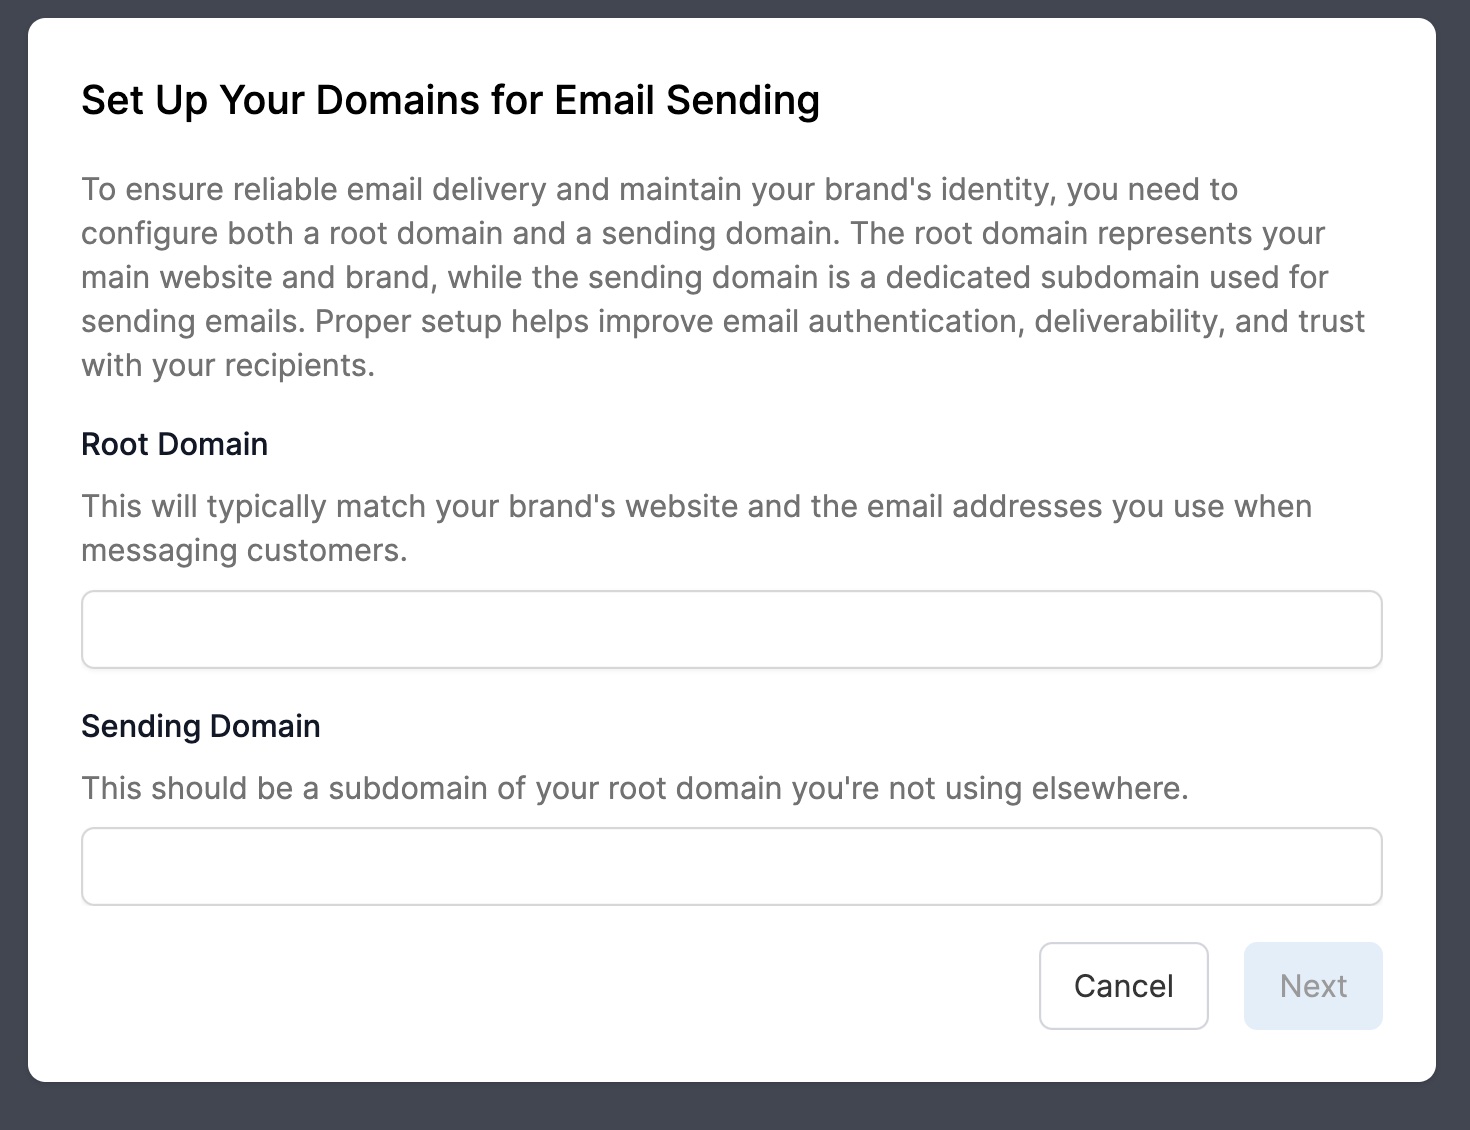
Step 1: Enter Your Domain Details
After clicking New Domain in Settings > Domains, a modal will appear asking for:
- Your website domain — your main business website address (without http:// or www)
- Sending subdomain — used for email authentication (e.g.,
sendcavaco). Recipients will see emails coming from your main domain. - Receiving subdomain — where Cavaco receives replies (must be different from the sending subdomain, e.g.,
receivecavaco)

Step 2: Choose Entri for Automatic Setup
After clicking Next: Add DNS Records, Cavaco will present you with the Entri option. Click "Connect with Entri" to let Entri handle the DNS configuration automatically. If you prefer to add records manually, click "I'll do it myself".

Step 3: Confirm and Connect
Entri will show a confirmation screen explaining that Cavaco AI uses Entri to configure your domain. Click Continue to proceed. Entri will then ask you to log in to your domain registrar and will automatically apply all required DNS records.

Once Entri completes, return to Cavaco. Your domain status will update from Pending to Verified within a few minutes.
Option B: Manual DNS Setup
Step-by-Step: Update DNS Records at Your Domain Host
- Log into your DNS host (e.g., GoDaddy, Cloudflare, Namecheap)
- Navigate to your domain’s DNS or Zone Editor
- Add the following records exactly as provided:
You can verify DNS propagation using tools like https://mxtoolbox.com or https://www.whatsmydns.net
What Happens Next
Once DNS changes propagate (typically within a few minutes to 24 hours):
- Cavaco will verify your domain
- You can begin sending branded, authenticated emails
- Your emails are less likely to be flagged as spam
If issues arise, Cavaco will notify you under the "Domains" settings panel. You can also reach out to support for troubleshooting.
Resources